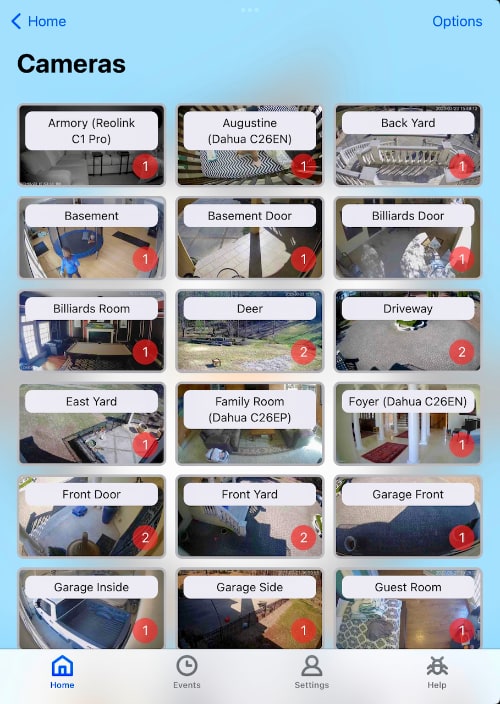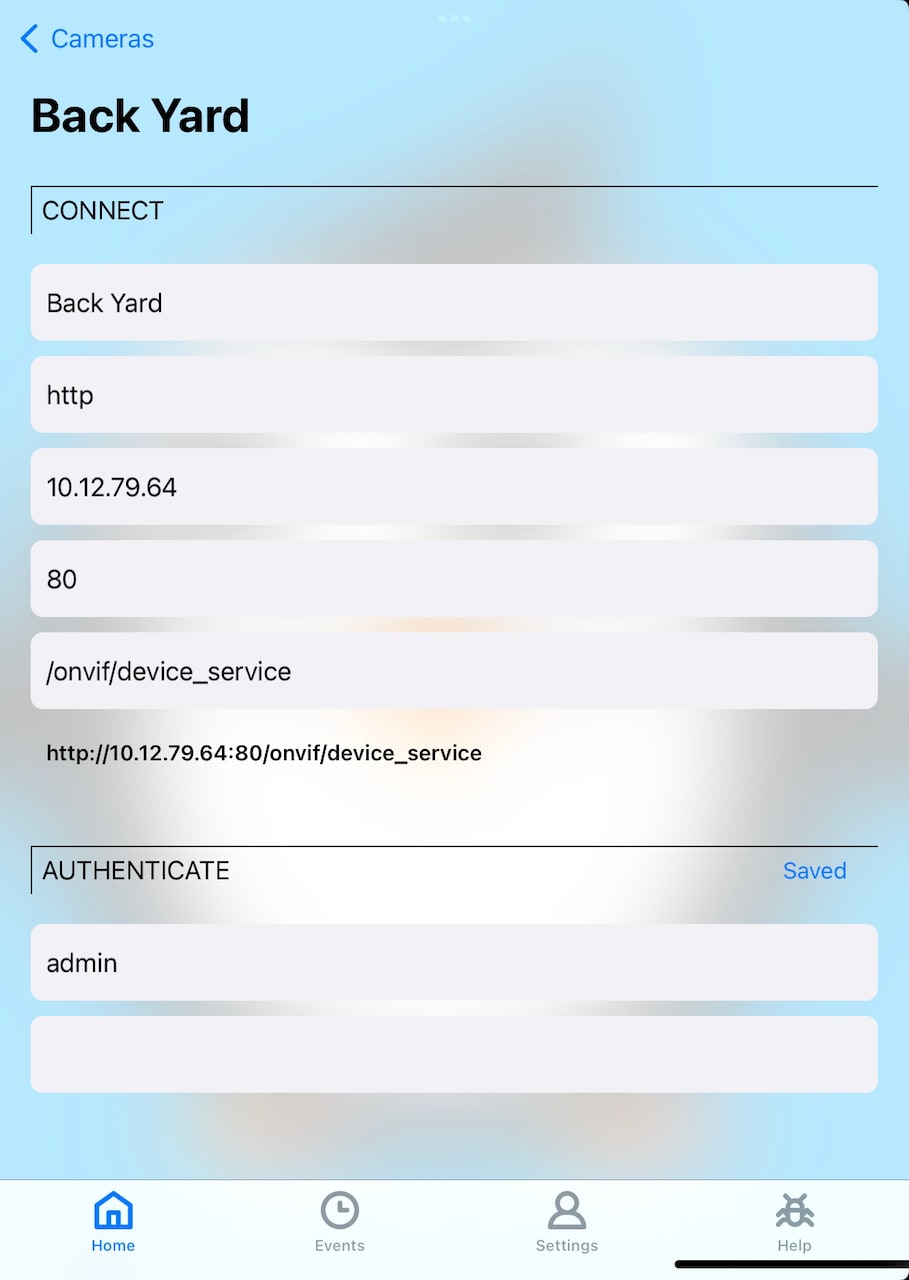
The Cameras screen is where you manage your camera configurations. This view, as depicted in the screenshot below, is not a live view of the cameras. You must start streaming a Camera to live view it.

The Options button located at the top-right of the screen allows you to customize the appearance of the cameras. You can drag-and-drop cameras to arrange them as you’d like, or use the Sort option to alphabetize them.
Use the Options button and choose “Add” to get started adding a camera.
Swipe left on a camera to access its configuration screen. On the Apple TV, just click on the camera and choose the “Edit” option.

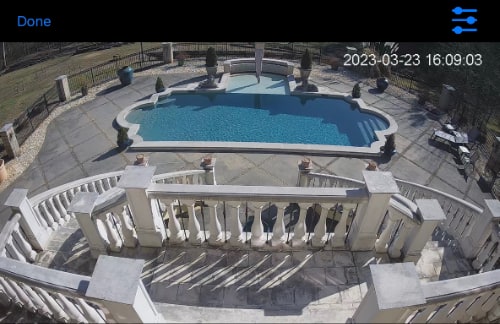
Tap on a camera to start the stream. On the Apple TV, just click on the camera and choose the “Stream” option.
To stream multiple cameras at once, start by streaming a single camera. Once the first camera is streaming, choose the option to add an additional camera. You can also create a Group of cameras.
To stop streaming, swipe down and tap on the “Done” button. On the Apple TV, click the Menu button and choose “Close”.

Created: 2 years ago
Updated: 1 year ago
Author: Curtis Jones
Topics: How To
Streamie provides a best-in-class user experience on your iPhone, iPad, Apple TV and Apple Silicon Mac, with an intuitive user interface that makes it simple to discover, stream, record, monitor and share your HomeKit, Google Nest, Ubiquiti UniFi Protect and ONVIF-compatible IP and RTSP cameras. Streamie keeps you informed with motion event notifications and it works with most cameras using its advanced audio and video codec support. You can watch your cameras from anywhere, record 24/7 to your private NAS, remotely manage multiple locations, device permissions and seamlessly synchronize settings across your devices; configure Hubitat smart home automations, live stream to YouTube and rely on the in-app technical support system when you need help -- and you can also reach us by phone. Download Streamie today for all of your CCTV needs.