The Bluerams Dome Lite 2 IP camera does not support HomeKit or RTSP, and is a security nightmare. I'd assume you're being watched unless you block this camera's internet access, in which case it is probably completely useless.
In this article we'll unbox the camera, get it set up with the Blurams app, see some security red flags and bail because it is does not work with any 3rd party applications "for security concerns." Ironic.
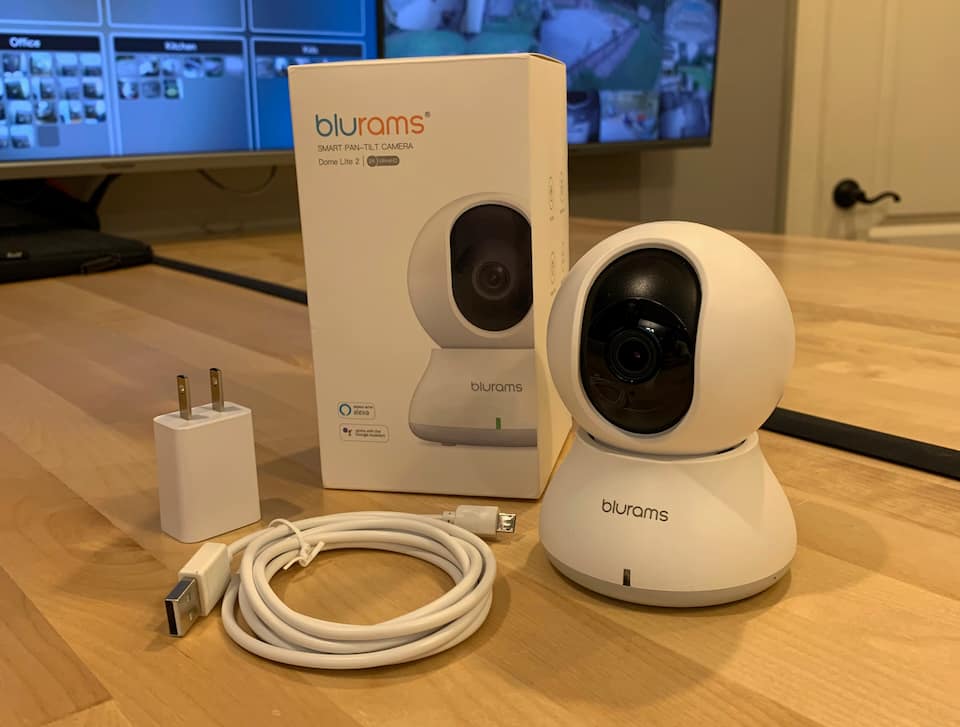
There's not a lot to say here. The camera is accompanied by a USB power cable, wall adapter. No camera mount or magnet mount, which is a bit cheap.
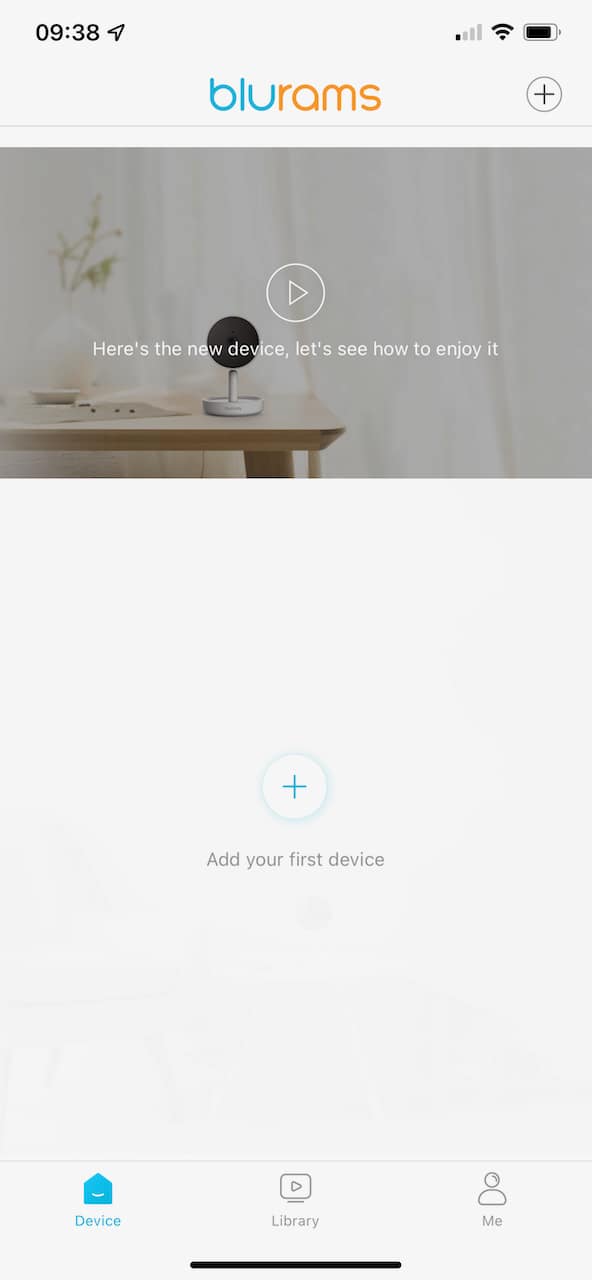
If you haven't already done so, you need to install the Blurams app. Annoyingly, you'll have to create an account before you can set up your camera. Everyone expects that these days, but it's a dumb requirement and something that Streamie absolutely avoids.

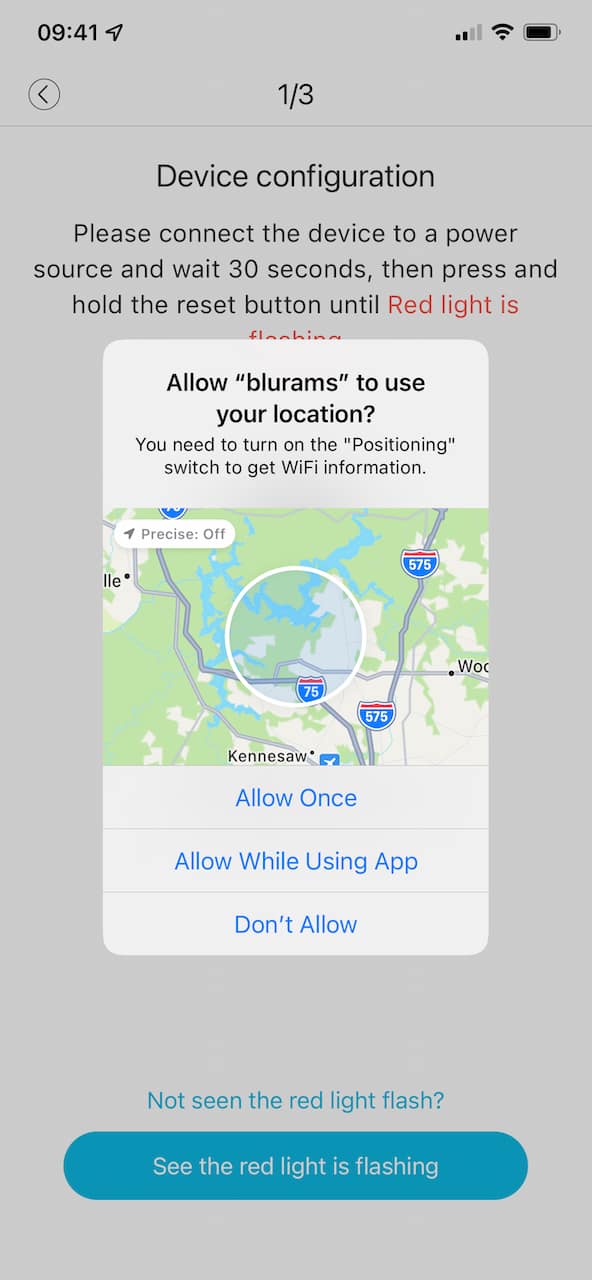
Even worse though is that it asks for your physical location. And it requires access to your location in order to add your camera. Fortunately, iOS lets you make your location imprecise, but still why in the world does this app need to know my physical location? Like I said earlier: privacy nightmare.
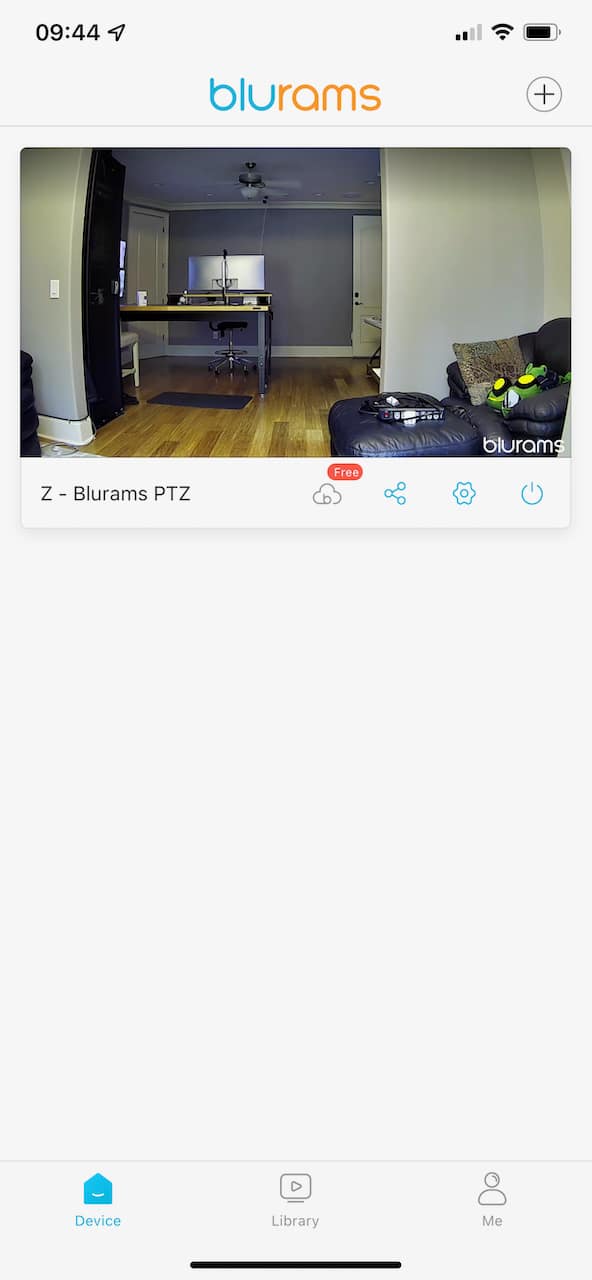
Once you're logged into the app, you'll add a new device. Choose your device from the list and continue.
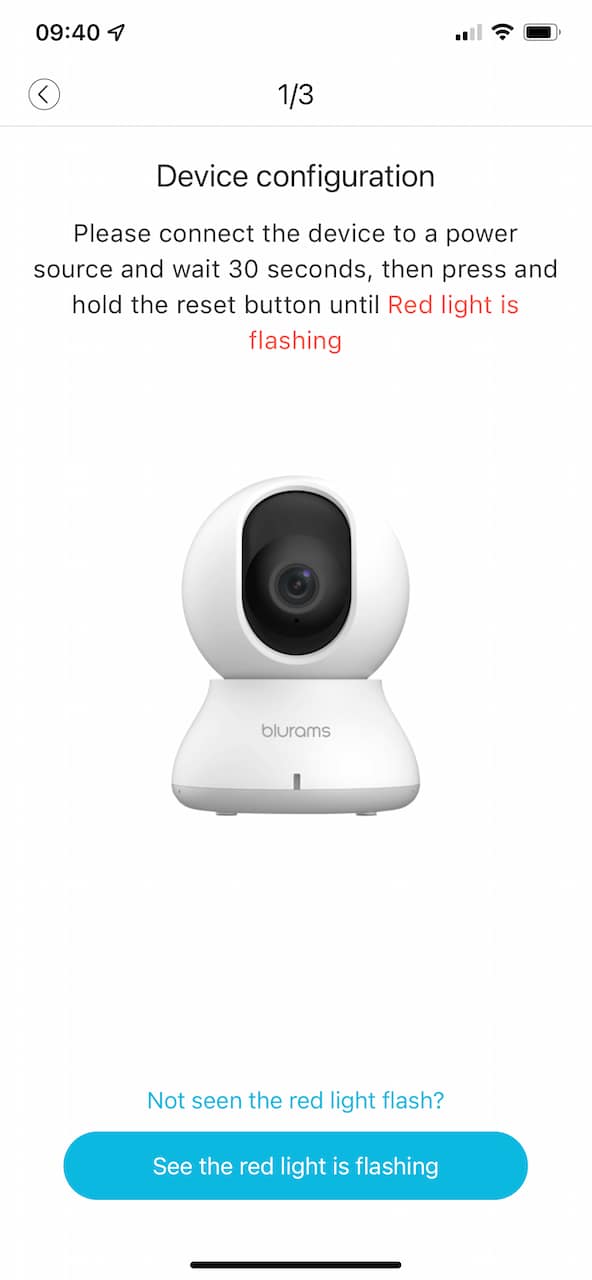
Once you plug in your camera, it'll commence “stretching" it's pan-tilt motors and then be ready for the app.
Here's the fun part: you cannot continue any further in setup process until you grant the app access to your physical location. Be sure to toggle the "imprecise" setting. I refused access the first time, and the app prevents you from continuing.
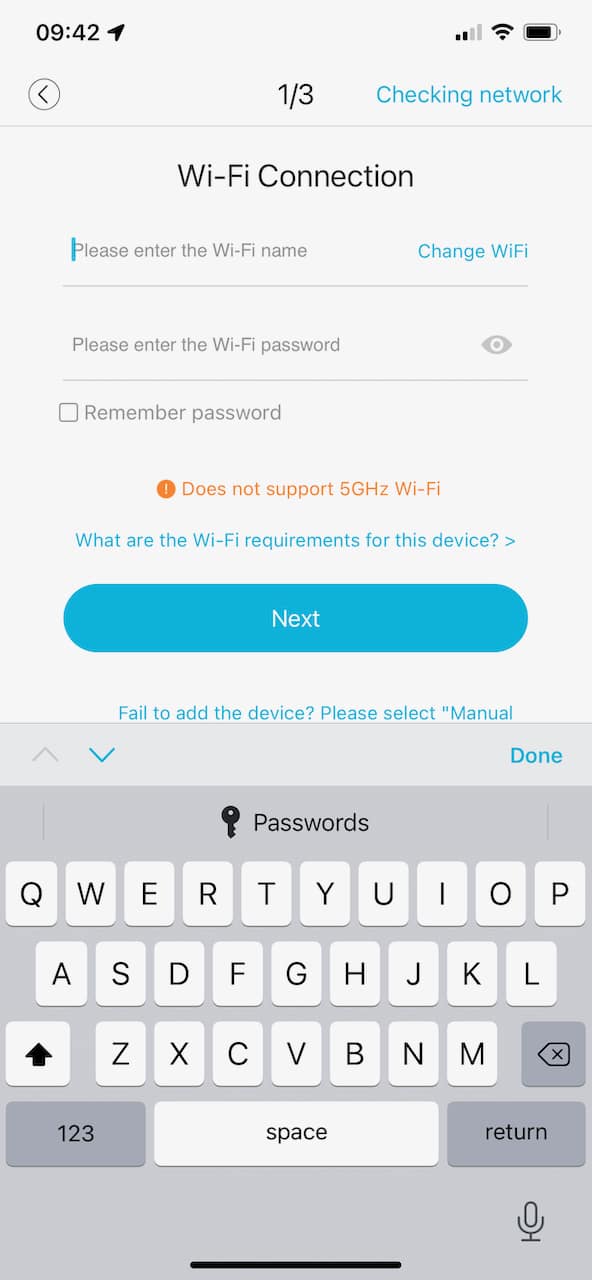
Next up, you connect to your wifi network. There's no good reason that they can't present you with a list of discovered SSIDs, but they don't, so, type in the wifi network name and password.
And you're good to go.
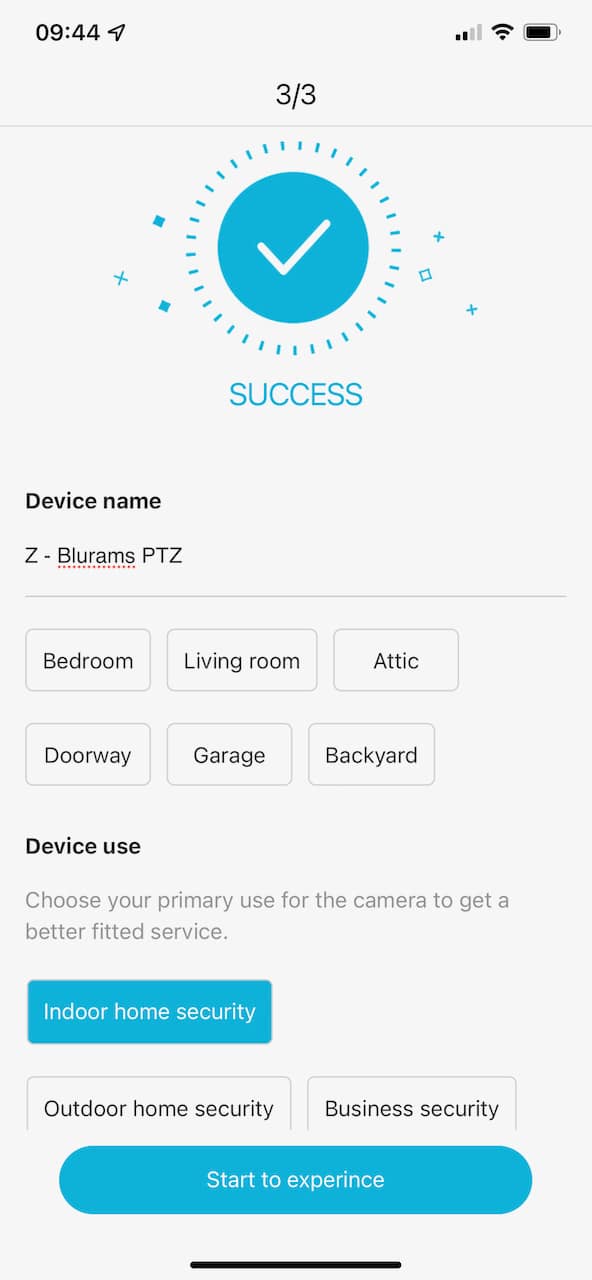
It'll grab a snapshot of the camera, which I'm suuuuuuure it keeps secure, and then you can use your camera.
Unfortunately, that's the end of this tutorial because this camera does not support ONVIF or RTSP or any other standard protocol for streaming.
Overall, it was a painless setup process, but the user account requirement and the internet access requirement continue to be annoyances, and the location permission thing doesn't make any sense and should be a red flag. I would NOT under any circumstances leave this camera plugged in with internet access in my home. And if you remove its internet access, the camera becomes disabled.
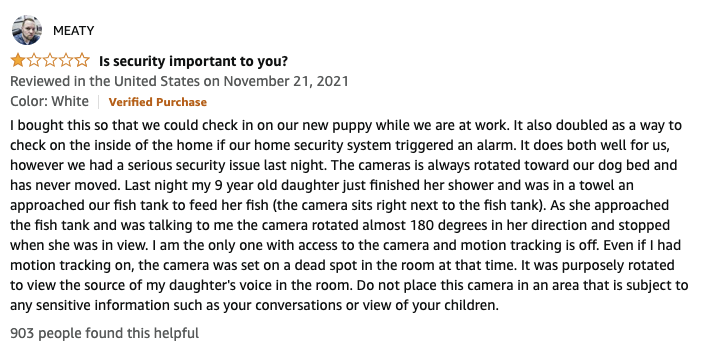
Here’s an Amazon review to further scare you if you are still feeling complacent:
Oh, and one final point: the English translation in the app is truly awful.
Please contact us if you have any questions. We're happy to help.
Created: 4 years ago
Updated: 4 years ago
Author: Curtis Jones
Topics: Tutorial
Streamie provides a best-in-class user experience on your iPhone, iPad, Apple TV and Apple Silicon Mac, with an intuitive user interface that makes it simple to discover, stream, record, monitor and share your HomeKit, Google Nest, Ubiquiti UniFi Protect and ONVIF-compatible IP and RTSP cameras. Streamie keeps you informed with motion event notifications and it works with most cameras using its advanced audio and video codec support. You can watch your cameras from anywhere, record 24/7 to your private NAS, remotely manage multiple locations, device permissions and seamlessly synchronize settings across your devices; configure Hubitat smart home automations, live stream to YouTube and rely on the in-app technical support system when you need help -- and you can also reach us by phone. Download Streamie today for all of your CCTV needs.