Avigilon surveillance cameras support RTSP and so does Streamie, so if you want to set up video walls using Streamie and an Apple TV (along with your Avigilon cameras), you can do that easily. A modern Apple TV with Streamie can simultaneously stream 60+ cameras as long as you choose an appropriately low resolution stream for each camera.
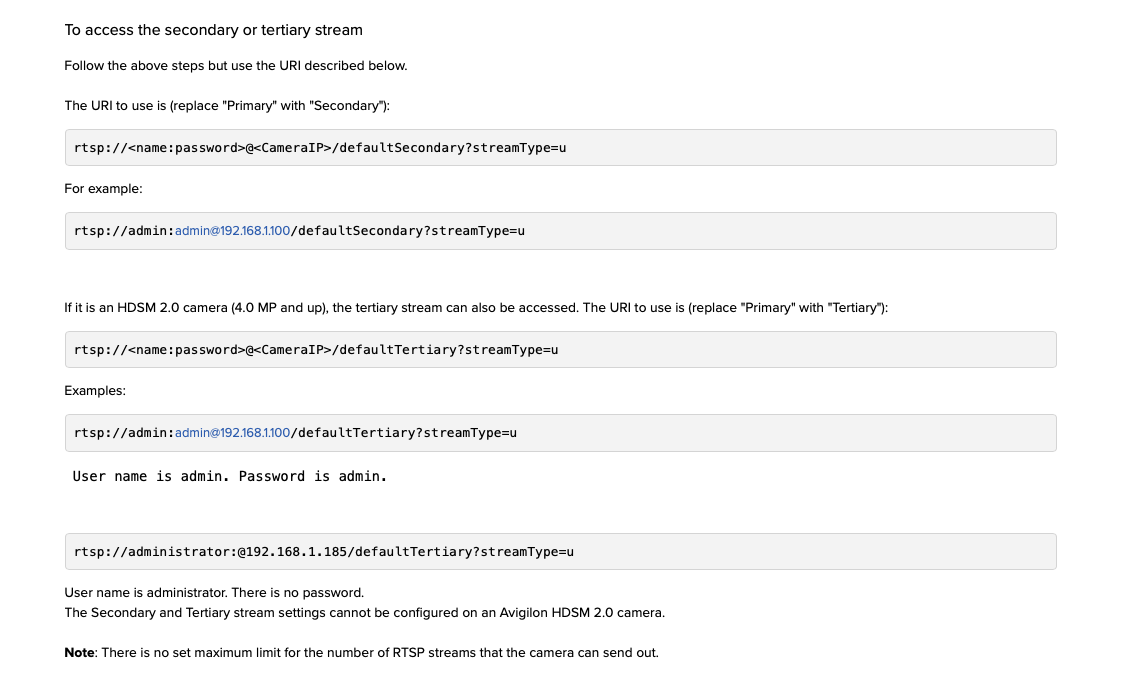
You can find Avigilon documentation related to RTSP both here and here. The gist of it is captured here:


The general form of the Avigilon RTSP URL is:
rtsp://<name:password>@<CameraIP>/defaultPrimary?streamType=u
Depending on your camera model, you can replace Primary with either Secondary or Tertiary. What will Avigilon do if there’s ever a need for a 4th stream quality tier?
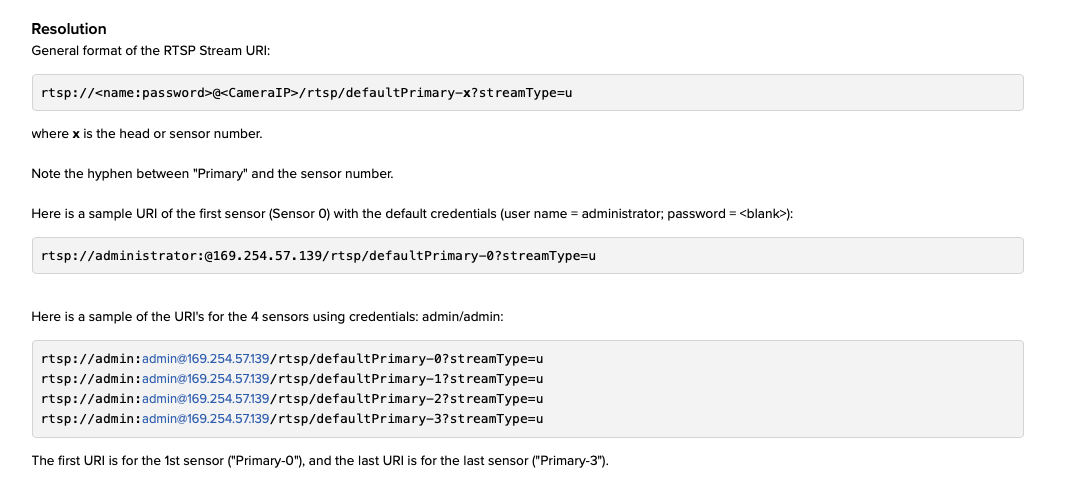
If you’re sporting a fancy, multi-sensor camera, the RTSP URL includes a number:
rtsp://<name:password>@<CameraIP>/rtsp/defaultPrimary-0?streamType=u
What’s interesting about this example is that they include /rtsp in the path, where they don’t mention that in the earlier examples. An exercise for the reader….
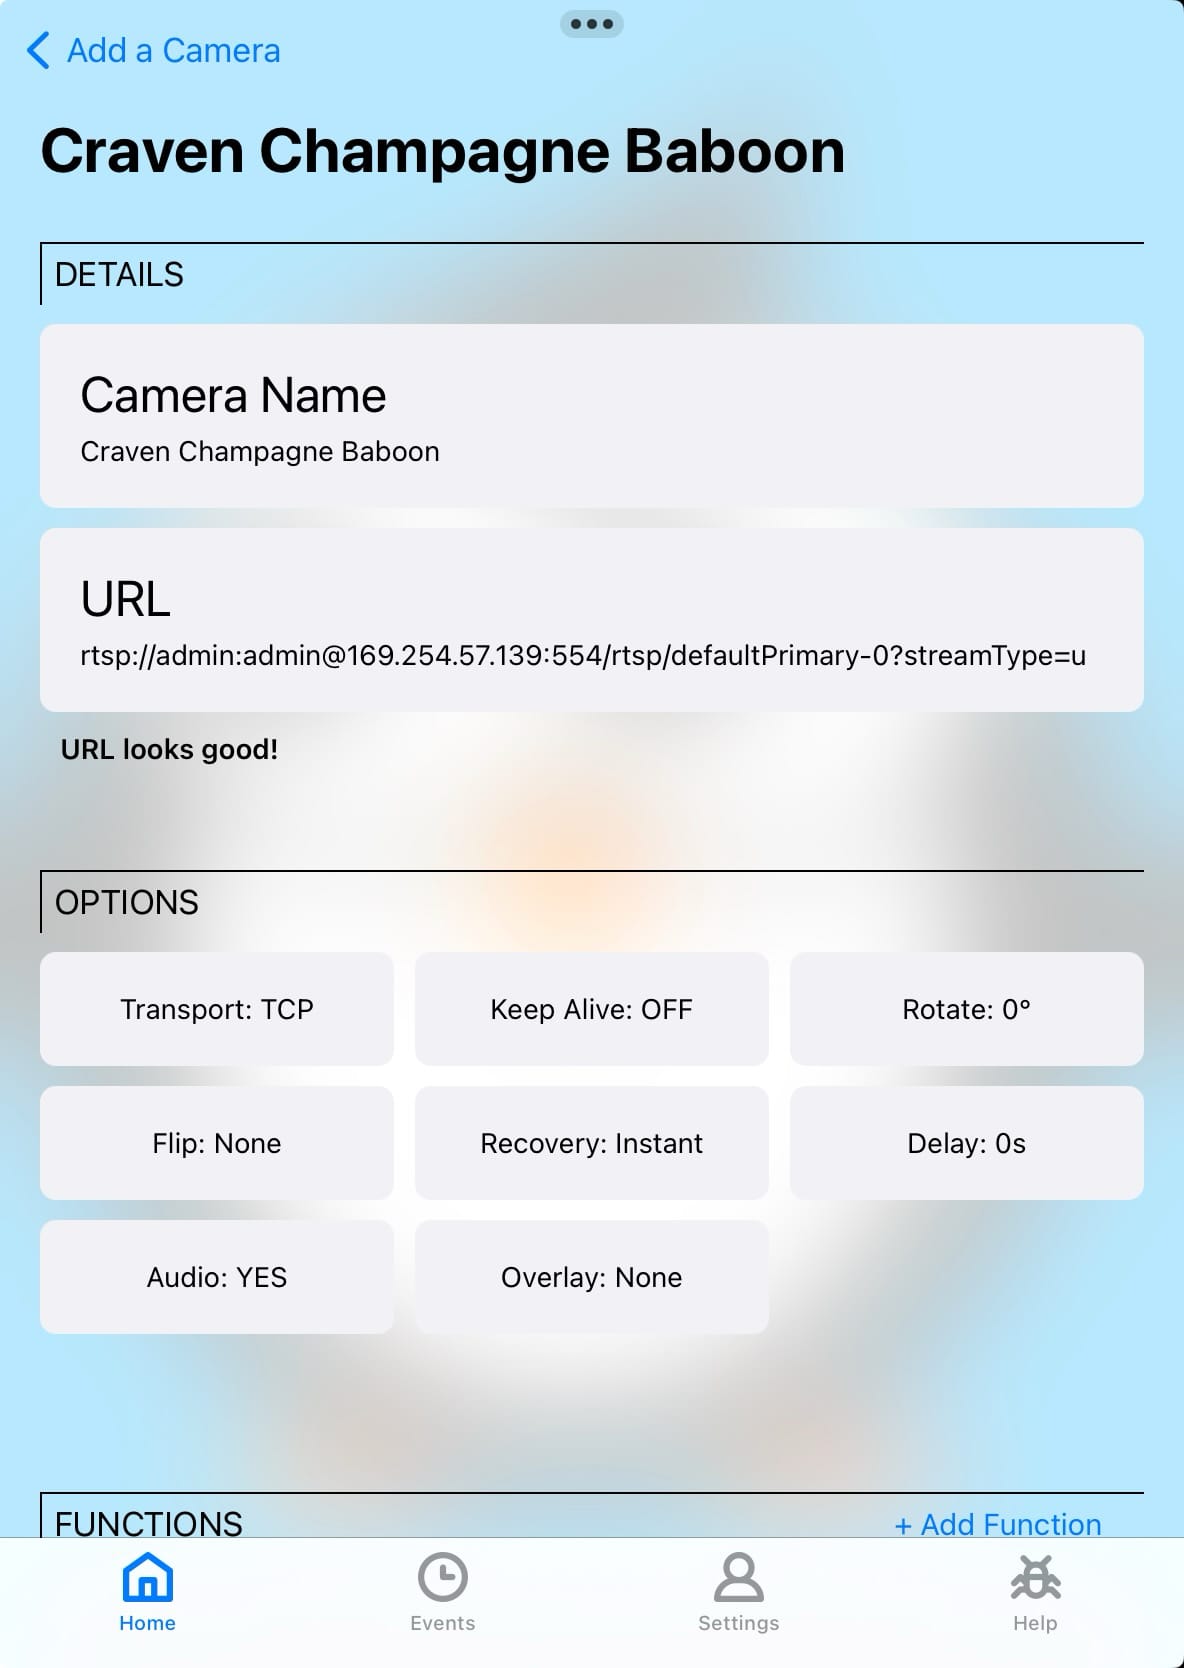
We want to be overt about the port number (554), so in our setup instructions, you’ll see that in the URL.
Step 1
Navigate in Streamie to Home => Cameras => Options => Add Camera. This is the camera search screen. Your RTSP cameras will not show up here because Streamie cannot automatically discover them, so continue navigating to Options => Add Manually => RTSP.
Step 2
Edit the URL field using the correct username, password and IP address. Remember to include the port number (typically 554). Leave all of the options alone and choose Save & Close at the bottom. Tap on your newly added camera and make sure it works. Repeat this process for the rest of your cameras.

Step 3
As a final step, you need to create a Group that contains all of your cameras. Navigate in Streamie to Home => Groups => Options => Add Group to get started. You can watch a tutorial video on editing groups here.
And that’s it! Once your group of cameras is set up, you can tap on it at any time to stream all of your cameras. Check out the Autostream option in the Settings tab if you want Streamie to automatically stream a particular camera or group when launched. Also, you can remotely manage Streamie from another device on the same account and cause your Apple TV to start and stop streaming (if, for instance, you changed the camera layout in the group). You can get started with remote management by navigating in Streamie to Home => Members.
Created: 1 year ago
Updated: 1 year ago
Author: Curtis Jones
Streamie provides a best-in-class user experience on your iPhone, iPad, Apple TV and Apple Silicon Mac, with an intuitive user interface that makes it simple to discover, stream, record, monitor and share your HomeKit, Google Nest, Ubiquiti UniFi Protect and ONVIF-compatible IP and RTSP cameras. Streamie keeps you informed with motion event notifications and it works with most cameras using its advanced audio and video codec support. You can watch your cameras from anywhere, record 24/7 to your private NAS, remotely manage multiple locations, device permissions and seamlessly synchronize settings across your devices; configure Hubitat smart home automations, live stream to YouTube and rely on the in-app technical support system when you need help -- and you can also reach us by phone. Download Streamie today for all of your CCTV needs.