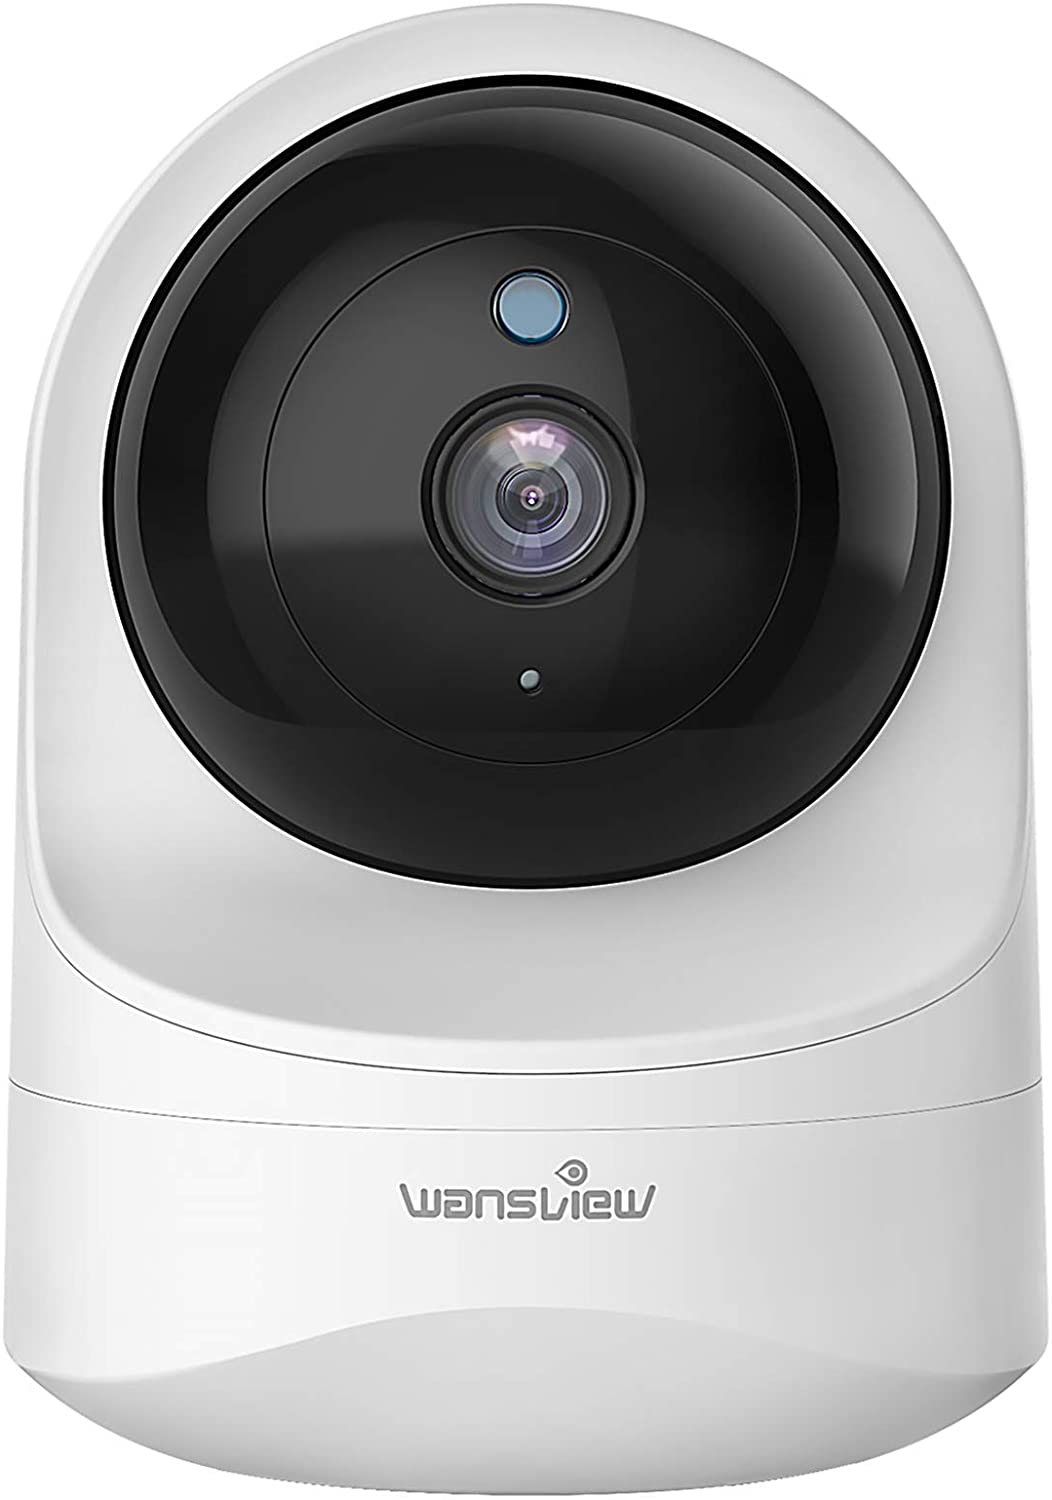
The Wansview Q6 IP camera does not support HomeKit but it DOES support ONVIF and RTSP, which is excellent. When using the Wansview app, the camera supports some basic motion detection, but neither that nor any other advanced features seem to be supported via ONVIF.
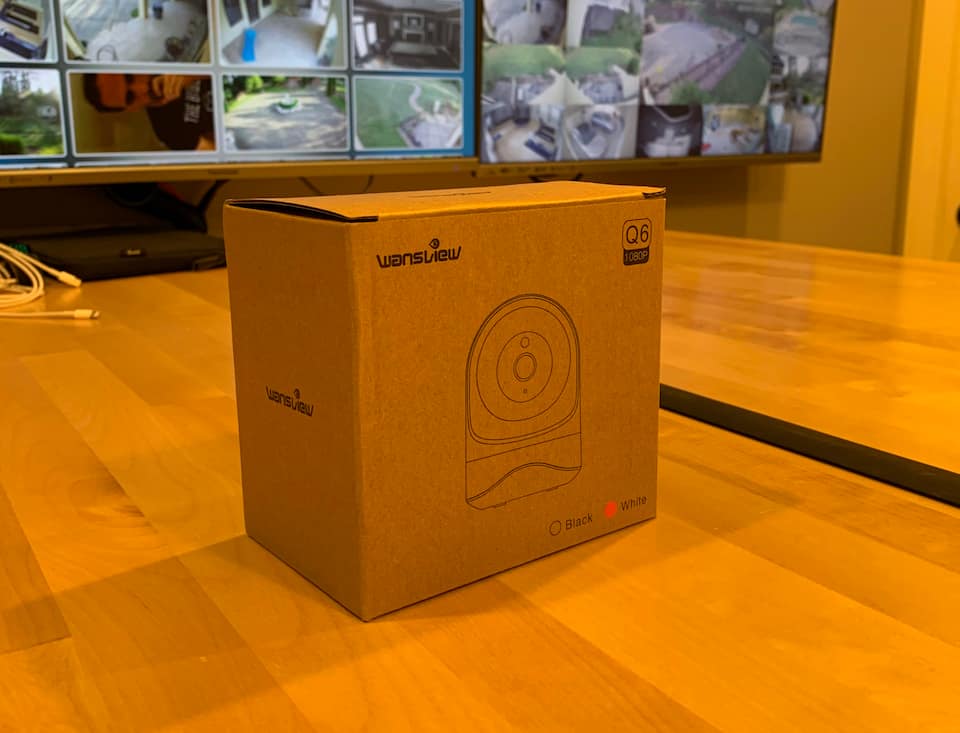
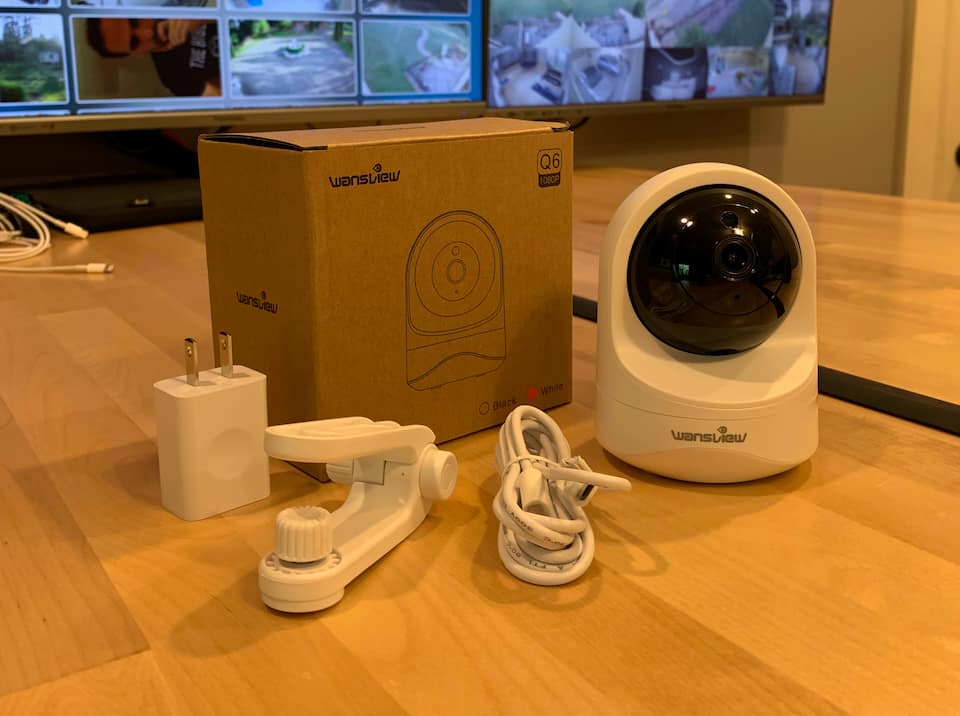
The camera is accompanied by a USB power cable, wall adapter plus an adjustable mount. The most noticeable element of this camera is the rattle, which I noticed before I opened the box. There's a screw rolling around inside the camera body somewhere. That's ... not awesome.
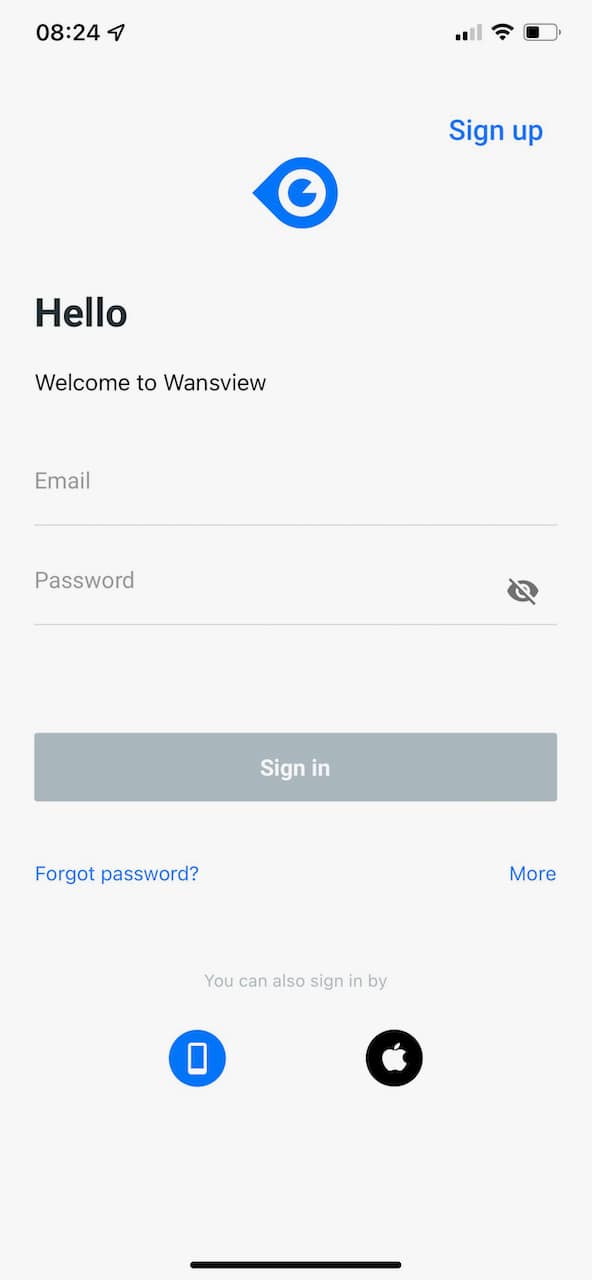
If you haven't already done so, you need to install the Wansview app.
Annoyingly, you'll have to create an account before you can set up your camera. Everyone expects that these days, but it's a dumb requirement and something that Streamie absolutely avoids. The only redeeming characteristic here is that it supports Apple sign-in, which means you don't have to use that same-old-password one more time.
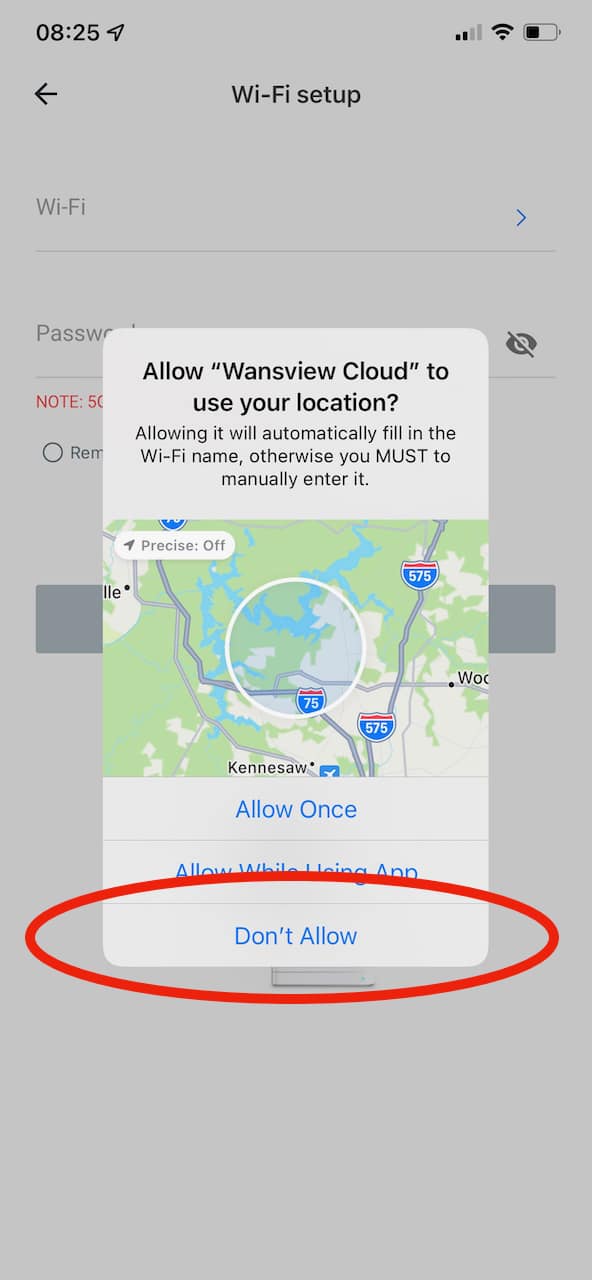
After you're signed in, and told the app which device you're trying to add (a Q6 in my case) you're immediately prompted for location access. According to the description, this is necessary to provide a list of wifi networks, which I was previously unaware of, but that description is believable. You may recall that Google got in some trouble for capturing SSIDs and MAC addresses to be used when trying to geolocate people. Naughty.
I declined to grant location access just to see how the app would cope. As promised, I had to type in the SSID, which is totally fine. Props to Wansview for making location access optional.
Now you've got a QR code on the screen to put in front of the camera. Encoded in the QR code is the SSID, your wifi password and some long code for which the meaning wasn't entirely obvious. I'm going to guess it is related to connectivity between the app and the camera so that the app can know when the camera has initialized. Also at this point the camera will use your internet access to "phone home". I disabled my "cameras may not have internet access" firewall rule at this point in order to continue.
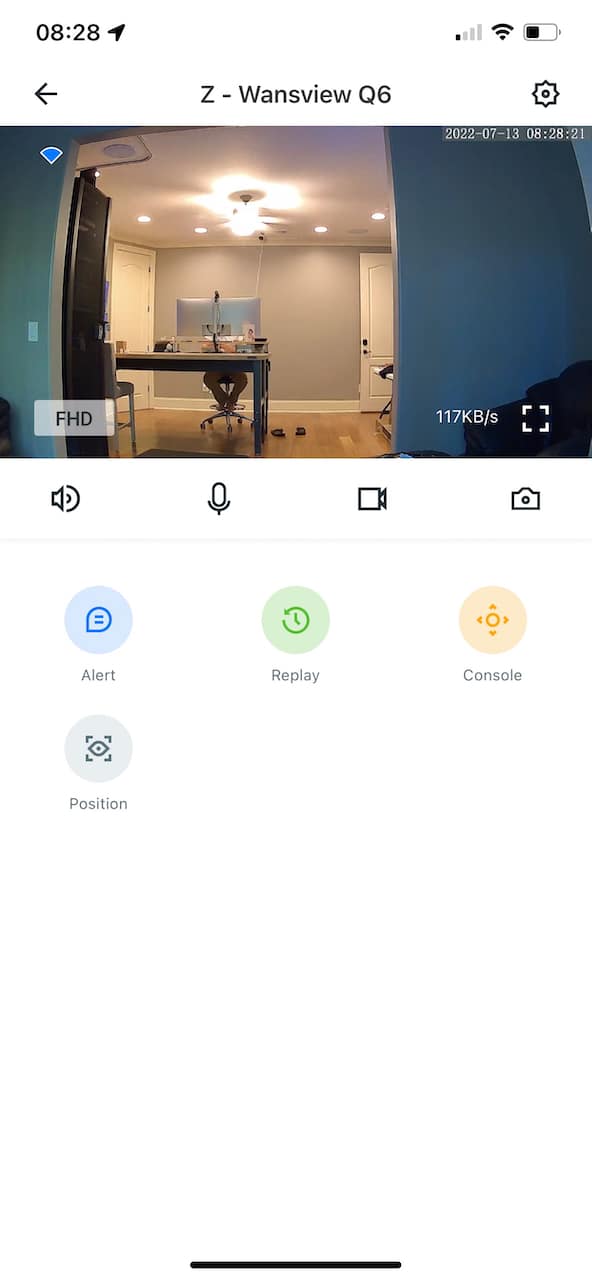
And there you go ... the camera is connected to wifi and visible in the Wansview app.
Much to my delight, as I mentioned right away, this camera supports ONVIF and RTSP. Woo.
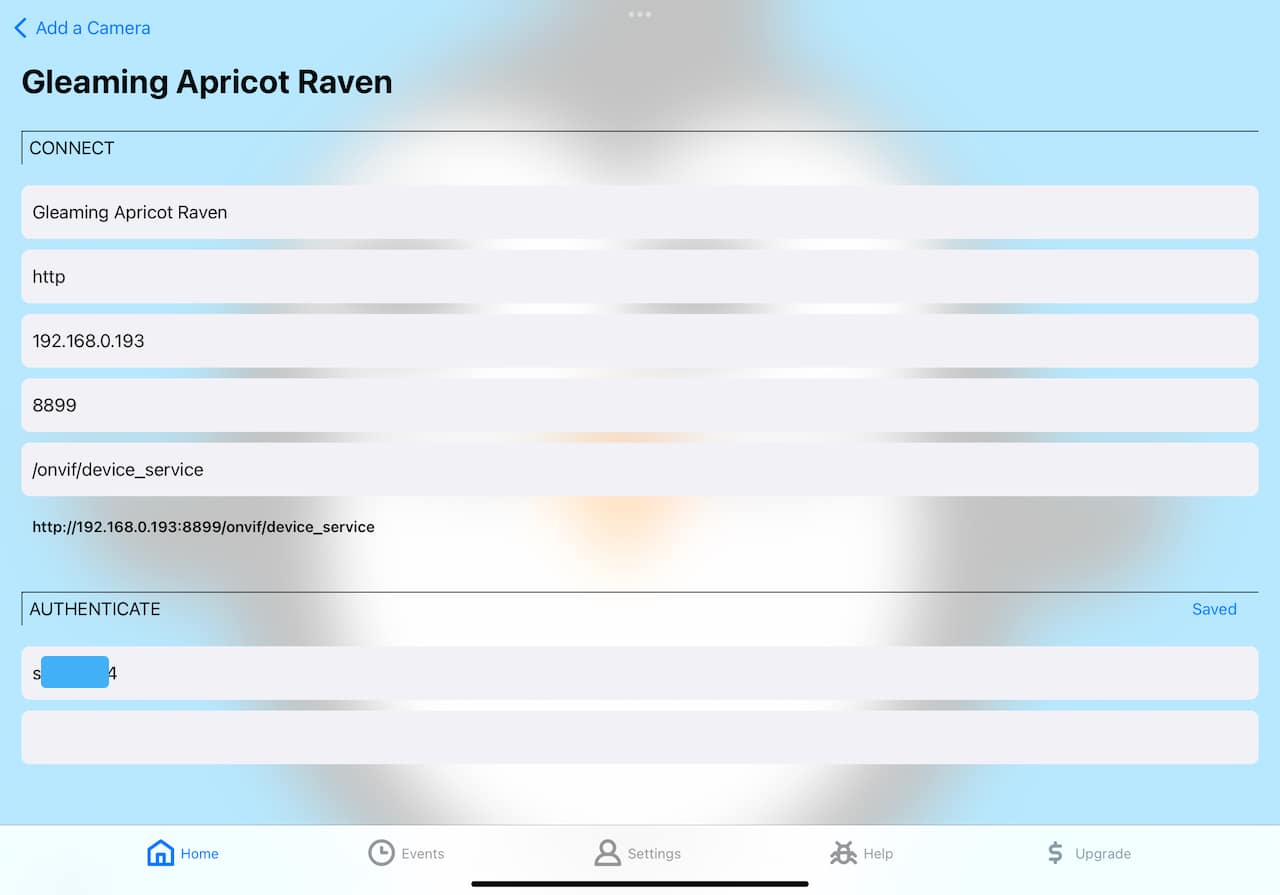
In the Wansview app, go to Settings and choose "Local application". I'm not sure how they came up with that name, but, that's not important.
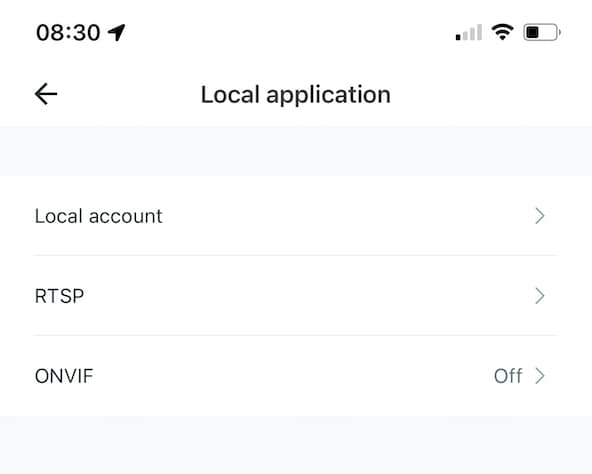
You'll want to tap on "ONVIF" and make sure it is enabled.
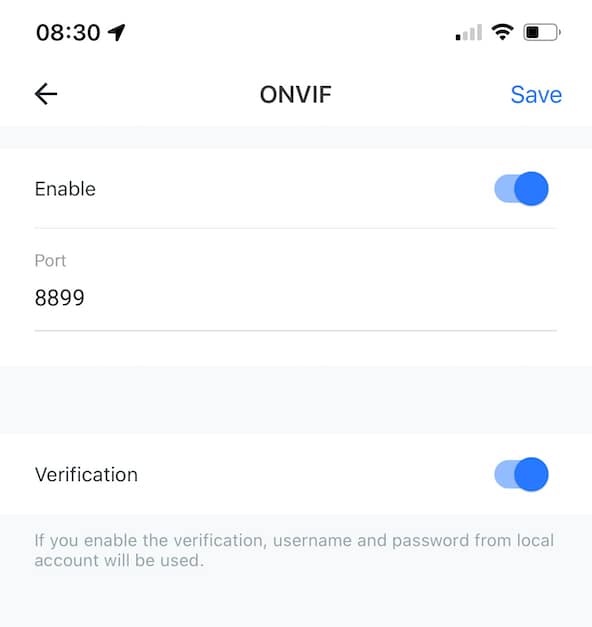
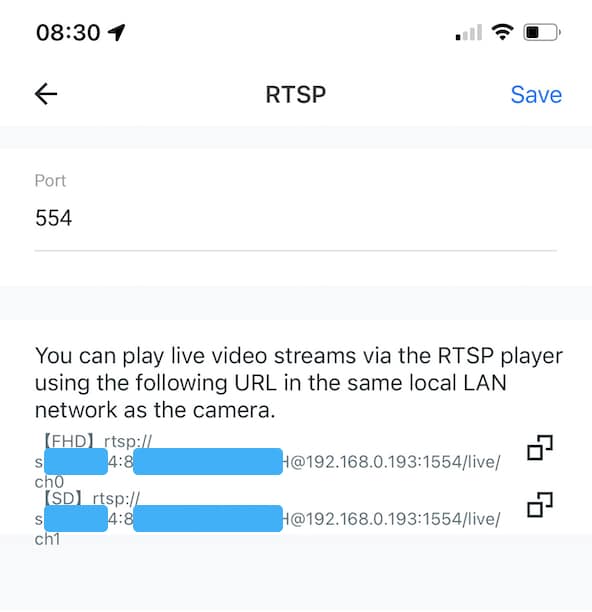
And also go to "RTSP" and make sure it is enabled. And on this screen you can see your username and password in the RTSP URL in the form of "username:password". You'll want to make note of these.
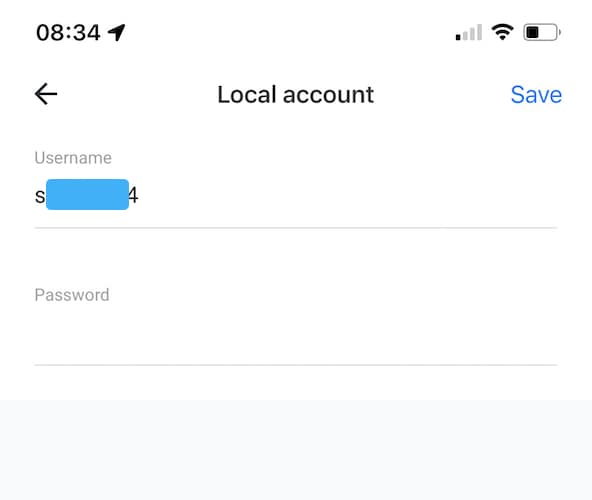
This username and password is from the sign up step at the beginning, and you can change them if you go back one level and choose "Local account".
Streamie is the app for iPhone, iPad, Apple TV and Apple Silicon Mac that works with many cameras all in one beautiful interface (if I do say so myself). We've already set up the Wansview Q6 camera. Now we just need to add the camera to Streamie. These screenshots are from an iPad, but the same functionality exists for iPhone, Apple TV and Mac.
Install Streamie if you haven’t already done so. It’s free!
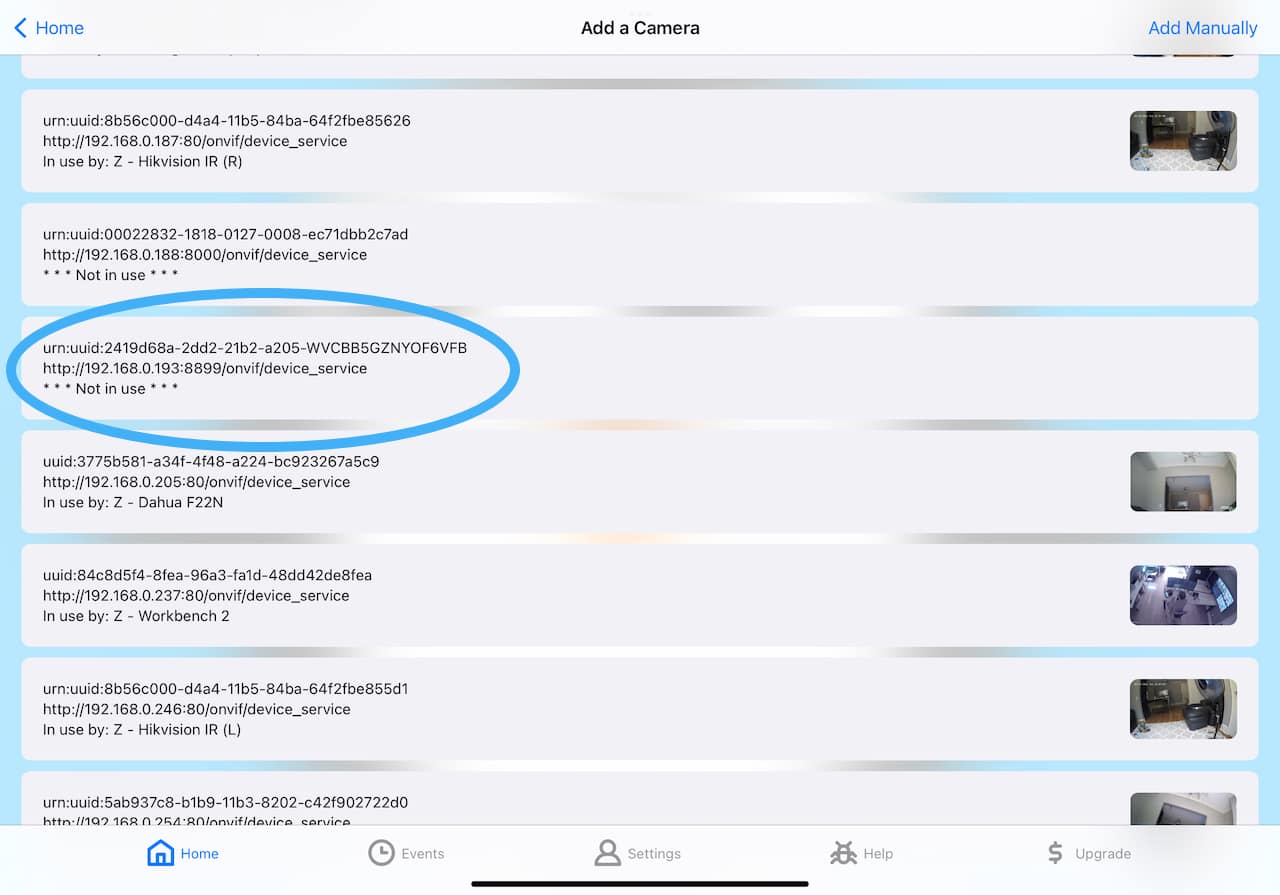
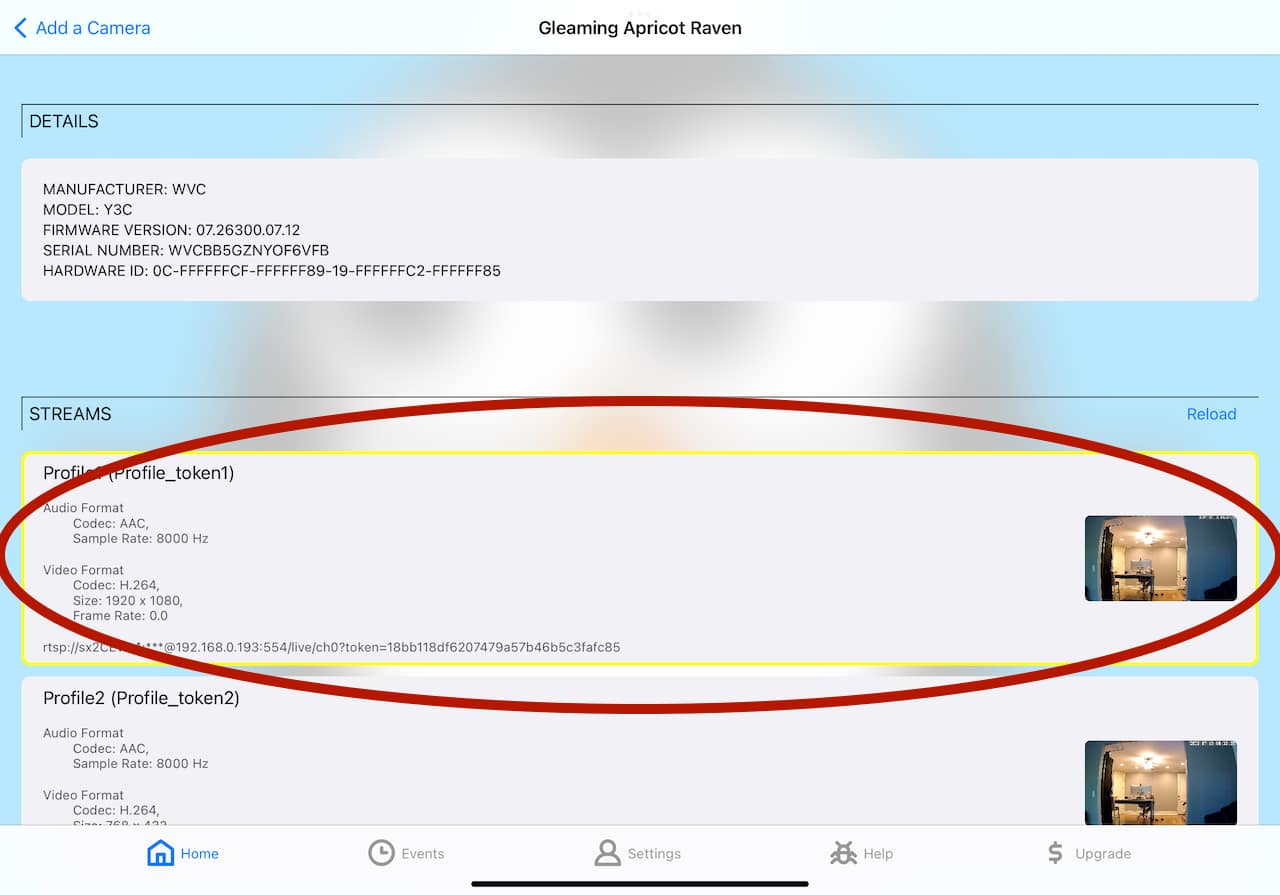
On the Home tab, scroll to the Cameras section and tap on the hamburger menu. Choose "Add camera". This Wansview camera does support ONVIF (amazing!), so if your device is on the same network as the camera, it should show up in the list of cameras in the ONVIF section of the Add Camera screen. The port is probably "8899" (as seen in the previous section, in the screenshot for ONVIF). Tap on that camera.
Type in the username and password that you used to configure the Wansview camera -- the same password I told you to take note of previously.
Scroll down, tap the "Connect" button and wait patiently for a moment. The setup process for the Wansview camera is polished, but it is no speed demon. Once Streamie has connected to the camera, the screen will refresh with a new Streams section. Tap on the first item in the list, which should be the highest quality stream.
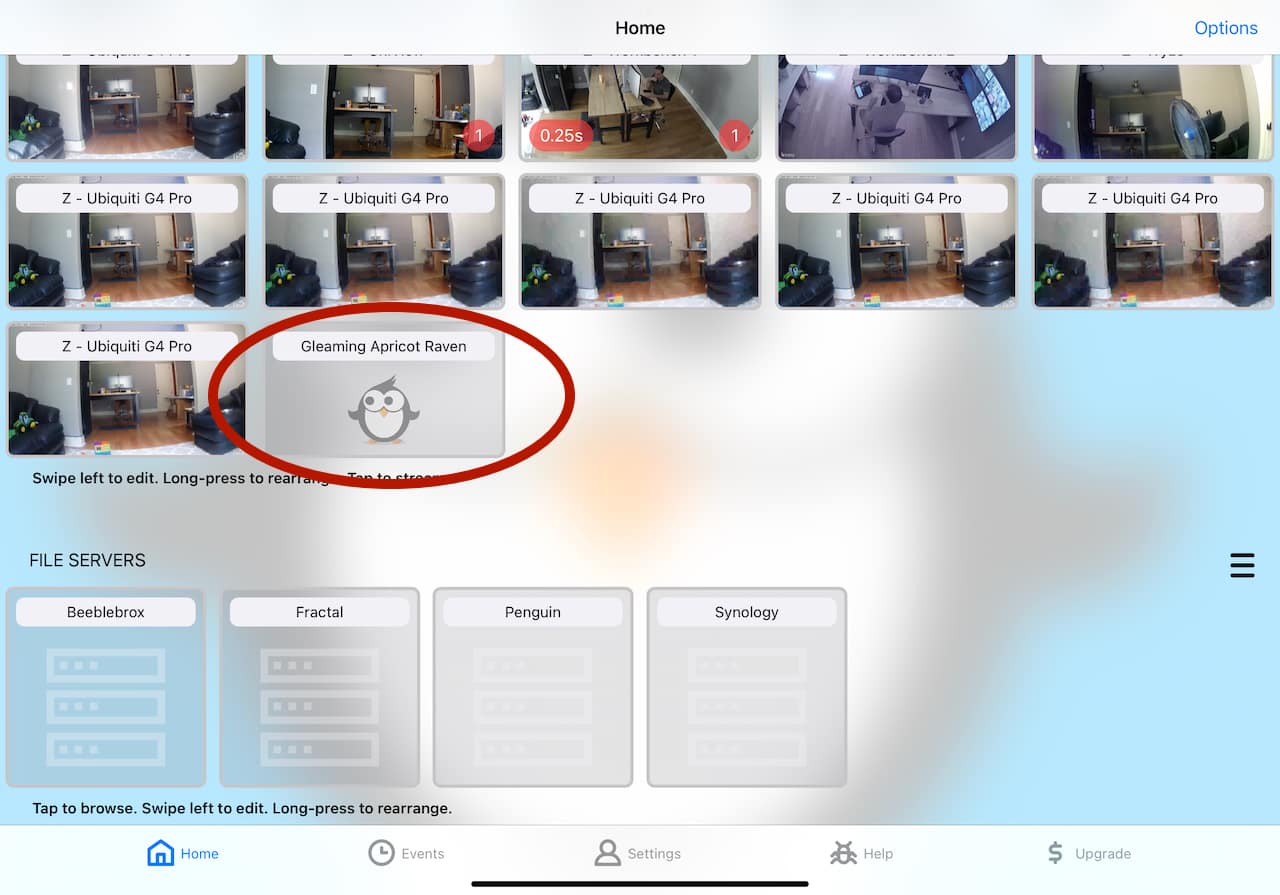
Tap "Save & Close" and you should be back at your list of cameras, and you should be able to see your new Wansview camera in the list.
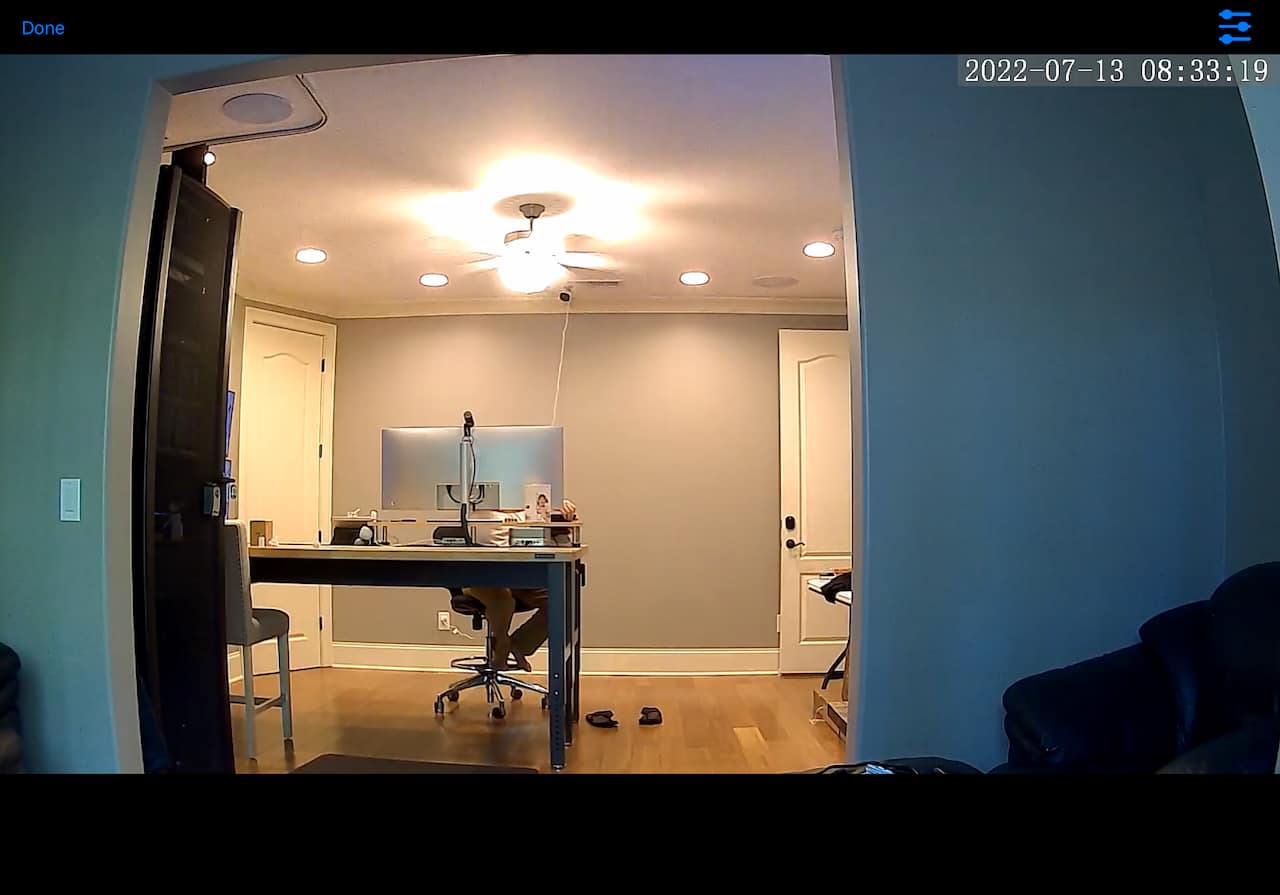
Tap on your new camera and the stream should pop up in a few seconds.
Once streaming, you can tap on the image to get options like audio, snapshots, recordings, etc.
At this point Streamie is listening for motion events from the camera, but in the testing I did, I could not get any motion events to occur, leading me to believe that while the camera supports some level of motion detection, it does not extend that functionality via ONVIF. Sad.
The final step you should consider with any camera is to remove its internet access. Cameras, in general, should not be trusted. Consult your ISP or local neighborhood tech support guru for how to configure your router to block your camera's internet access. With Streamie, you can still access your camera remotely, even when the camera's internet access is disabled.
If you run into any issues setting up your Wansview camera and adding it to Streamie, contact us for assistance. We're happy to help.
Created: 4 years ago
Updated: 4 years ago
Author: Curtis Jones
Topics: Tutorial
Streamie provides a best-in-class user experience on your iPhone, iPad, Apple TV and Apple Silicon Mac, with an intuitive user interface that makes it simple to discover, stream, record, monitor and share your HomeKit, Google Nest, Ubiquiti UniFi Protect and ONVIF-compatible IP and RTSP cameras. Streamie keeps you informed with motion event notifications and it works with most cameras using its advanced audio and video codec support. You can watch your cameras from anywhere, record 24/7 to your private NAS, remotely manage multiple locations, device permissions and seamlessly synchronize settings across your devices; configure Hubitat smart home automations, live stream to YouTube and rely on the in-app technical support system when you need help -- and you can also reach us by phone. Download Streamie today for all of your CCTV needs.