Streamie works with SMB-based file servers and S3 storage services for storing 24/7 recordings. These instructions will walk you through setting up your SMB file server in Streamie. To get started with S3, see these instructions.
Ensure that Streamie is on the same network as your file server then use the Options button at the top-right and choose Add.
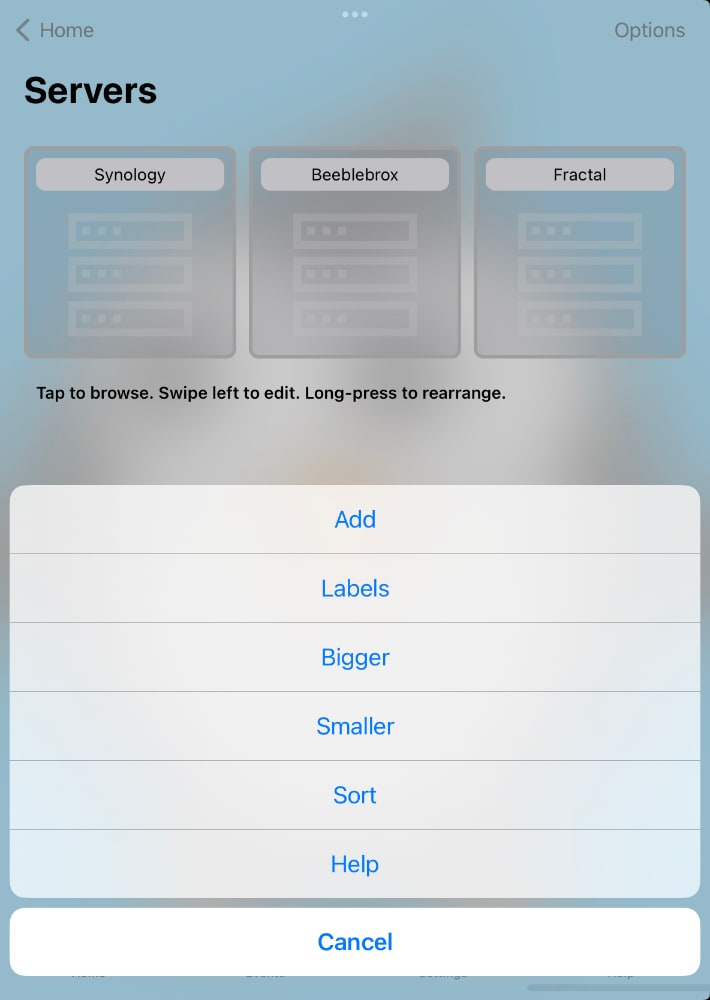
You can manually enter the required values or you can tap on the Search button and let Streamie discover local file servers, which may save you a little bit of time. You must provide the username and password though, of course.
Once the form is complete, tap Connect to continue.
Once you are connected, you can define how this file server is used by Streamie.
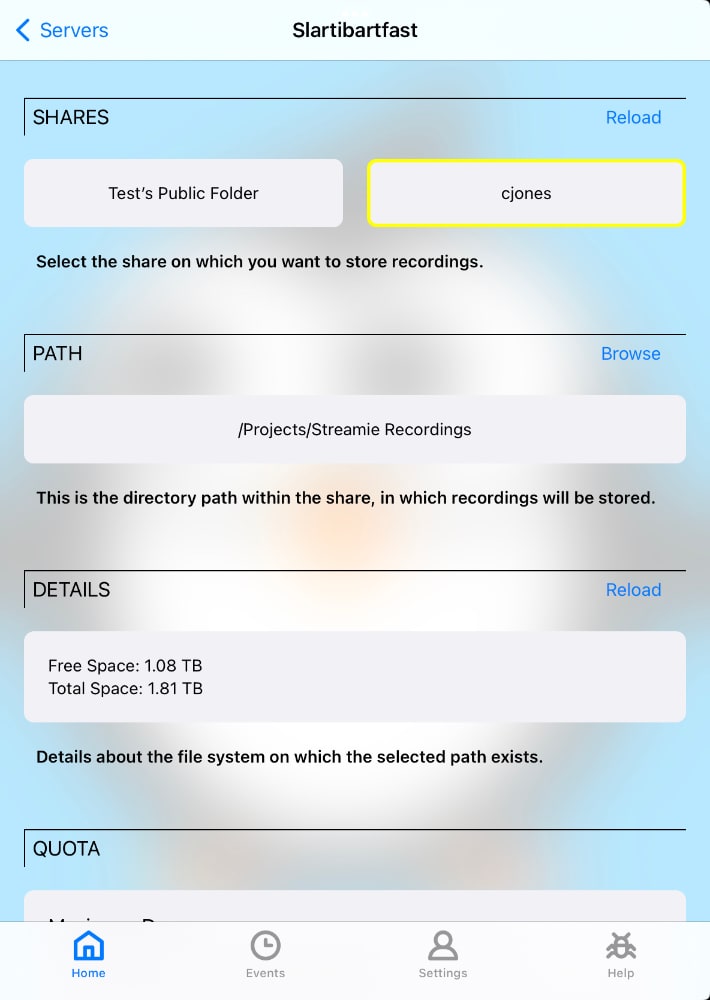
Shares. Each file server has one or more shares. Choose the Share to which you want Streamie to write its recordings.
Path. Once you’ve selected a Share, browse that Share to select the specific path to which Streamie should write its recordings.
Details. This section shows you file system information that may be of interest to you.
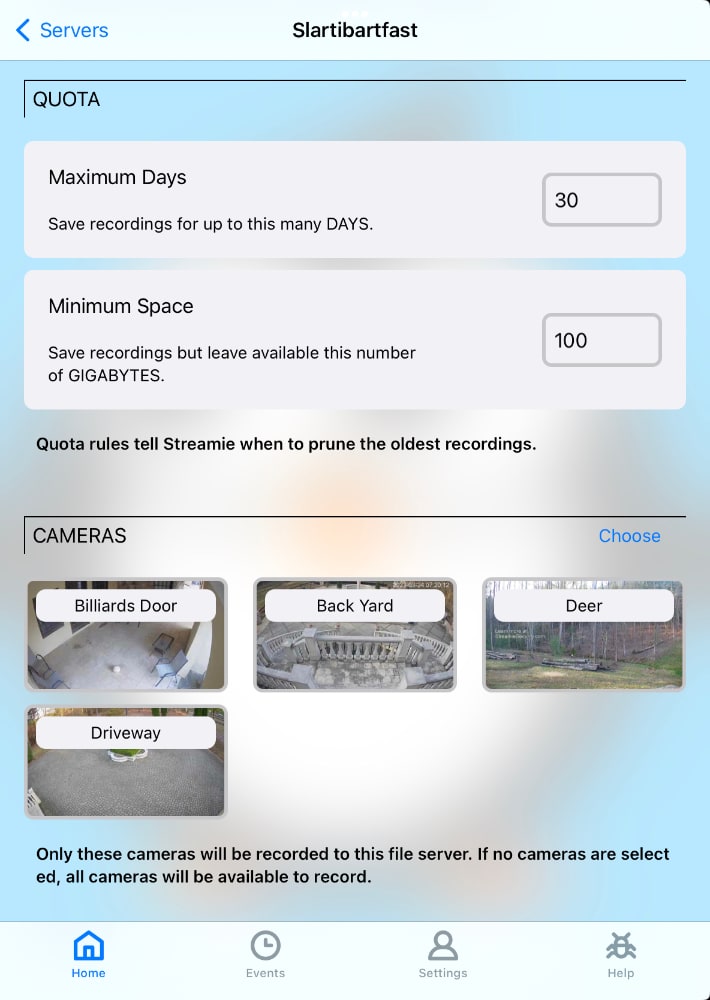
Quota. You can limit how Streamie uses this file server by specifying the maximum number of days of recordings and/or the minimum amount of free space Streamie should leave. You do not want to fill any volume to its maximum as performance and stability will be impacted.
Cameras. Choose which cameras should be recorded to this file server. By default, is no cameras are chosen, any camera that is being streamed, will also be recorded.
Members. Finally, chose which of your Streamie devices should perform recording. Typically, this would be an always-on Apple TV. Only devices that you choose here will write recordings to the file server. However, recordings are available to be reviewed by any device on your account.
Save & Close. Finally, Save your changes to complete the process of adding your file server.

Once you’ve configured your file server, start streaming your cameras on the member device (or devices) you selected for that file server. Every ten minutes (roughly) a file will be written out to the file server.
Note. If you stop this member device from streaming cameras, then the recording process will also stop.
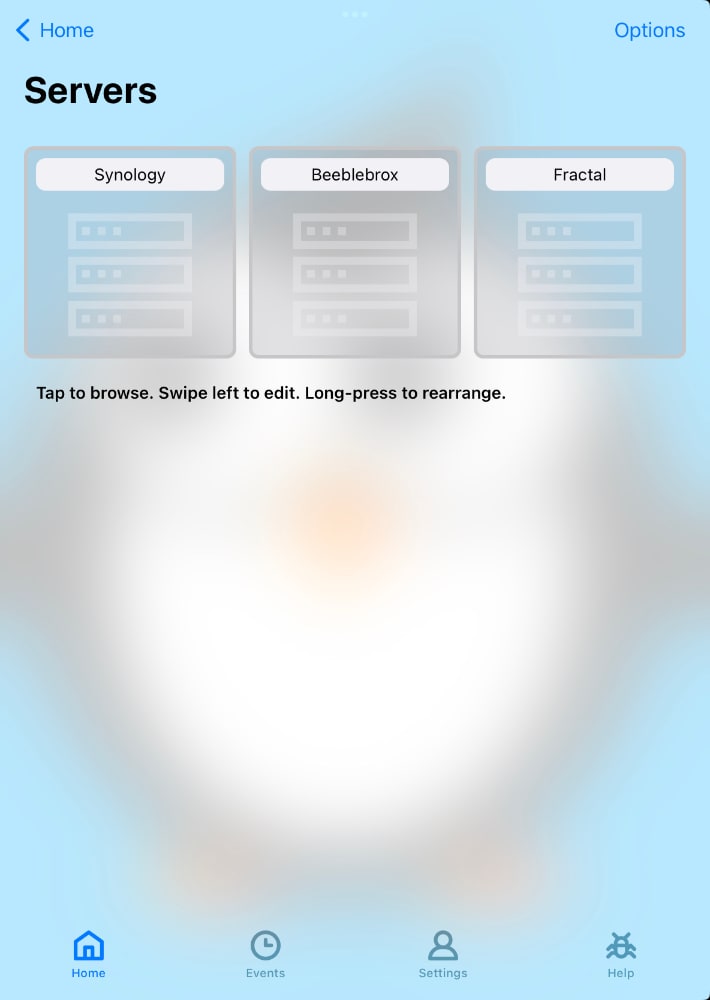
You can use any of your Streamie devices to view, manage and share your recordings.
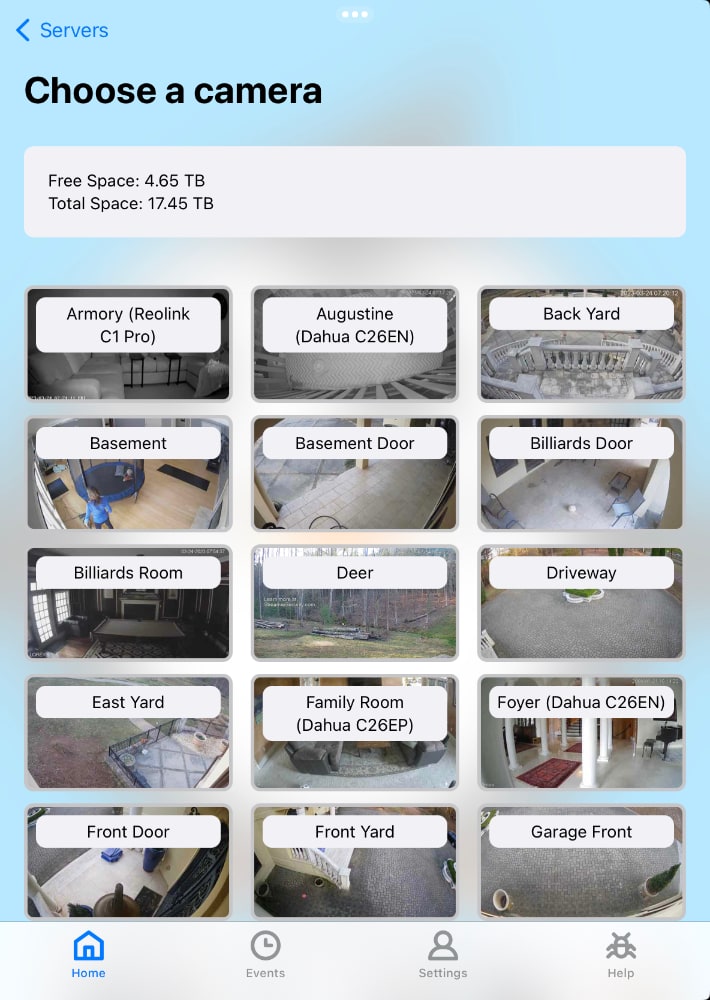
Start by tapping on a file server to enter Browsing mode. You must start by choosing a camera.
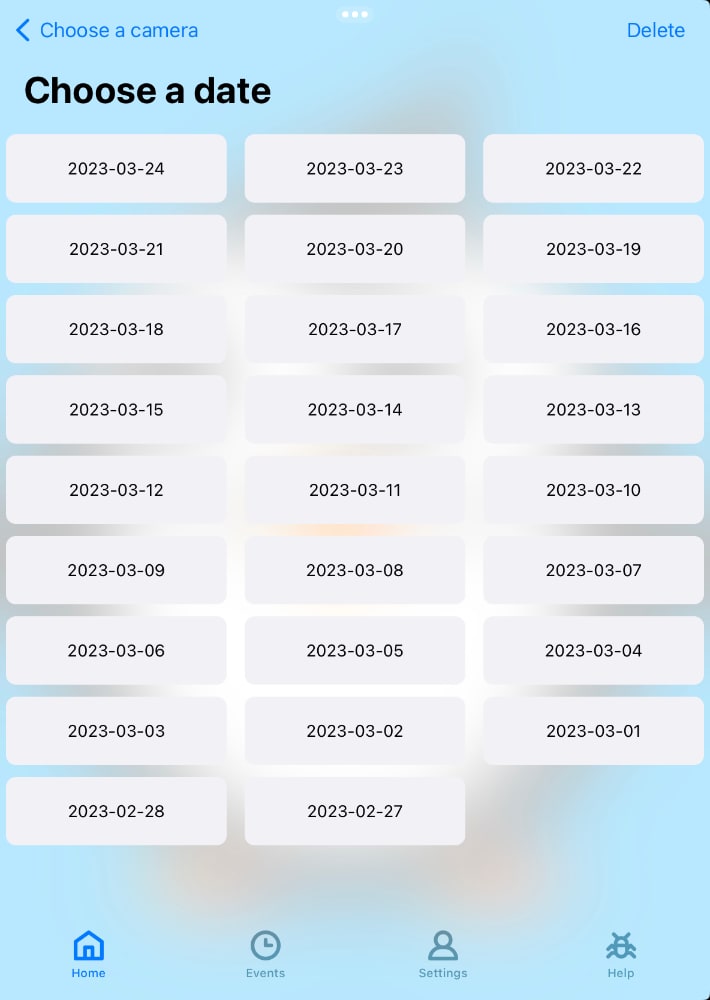
On the next screen, you will be prompted to choose a date.
Finally, the recordings for that camera, at that date, will load. Streamie captures a low resolution snapshot roughly every fifteen seconds and embeds that in the recording. Streamie will start the process of extracting those snapshots so that you can quickly review your recordings without actually having to tedious watch the whole thing.
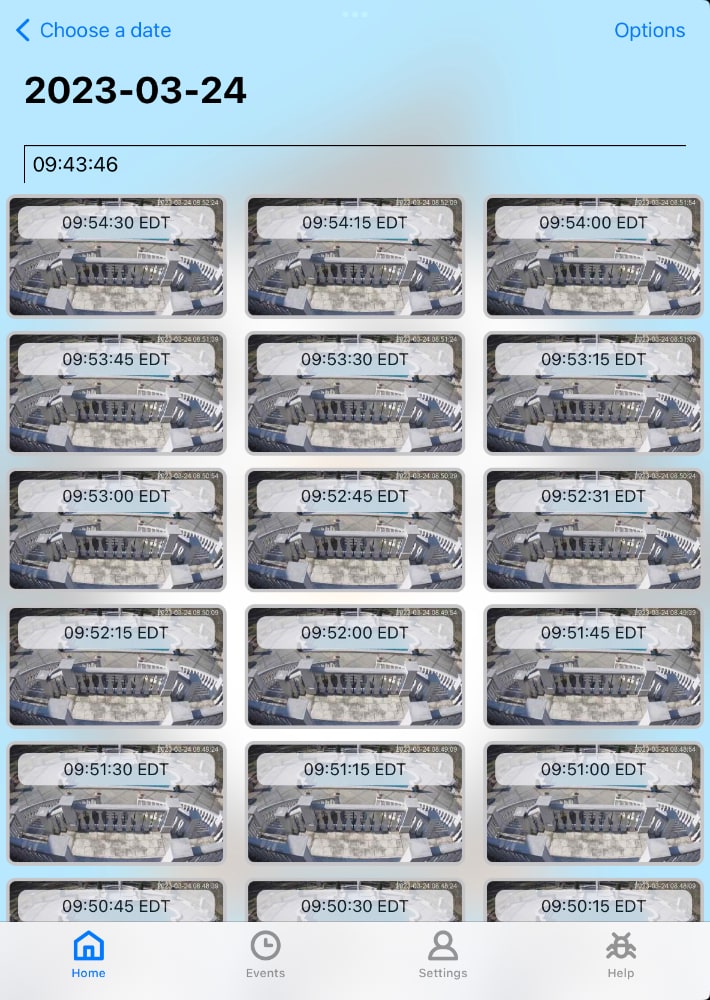
When you’re ready to jump to a particular point in a recording, just tap on a snapshot. The Details screen will load and you can play the recording.
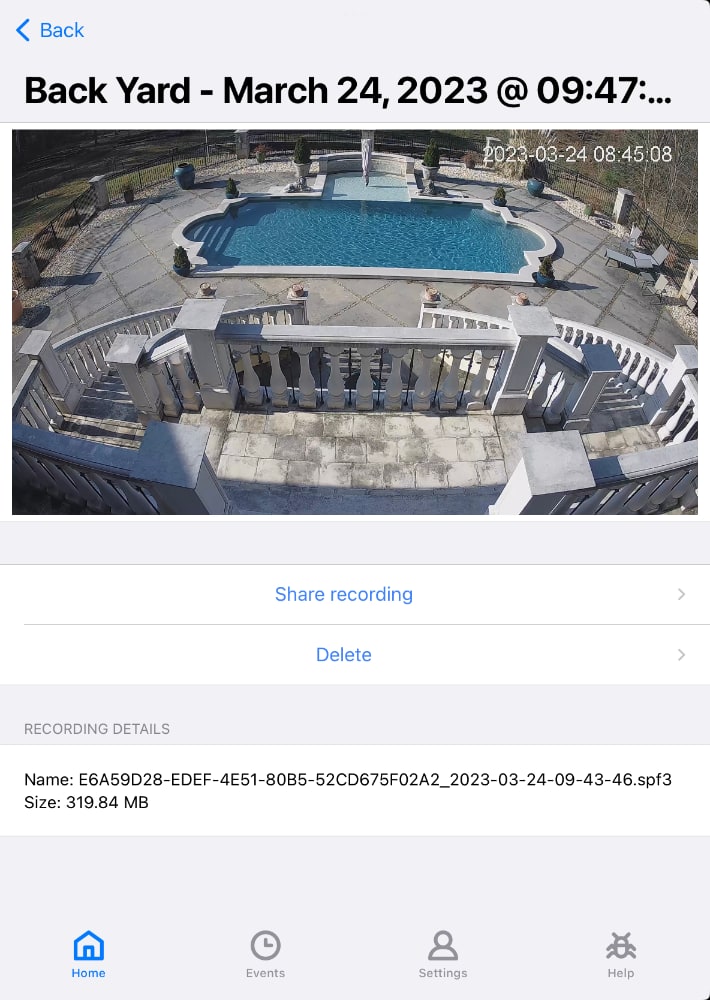
You can use the Share Recording button to export the Streamie recording to a common format that you can email, text or save locally.
File Servers allow Streamie to record your cameras 24/7 right to your own, local, private storage which could be a Mac, PC, NAS or Linux file server.
Created: 2 years ago
Updated: 1 year ago
Author: Curtis Jones
Topics: How To
Streamie provides a best-in-class user experience on your iPhone, iPad, Apple TV and Apple Silicon Mac, with an intuitive user interface that makes it simple to discover, stream, record, monitor and share your HomeKit, Google Nest, Ubiquiti UniFi Protect and ONVIF-compatible IP and RTSP cameras. Streamie keeps you informed with motion event notifications and it works with most cameras using its advanced audio and video codec support. You can watch your cameras from anywhere, record 24/7 to your private NAS, remotely manage multiple locations, device permissions and seamlessly synchronize settings across your devices; configure Hubitat smart home automations, live stream to YouTube and rely on the in-app technical support system when you need help -- and you can also reach us by phone. Download Streamie today for all of your CCTV needs.