UPDATE: After sending a bunch of details to Reolink, I was given updated firmware that has completely resolved all of the streaming issues. I’ve only been testing it briefly, but in that time it has performed flawlessly. Now if only I could get them to add H.265….
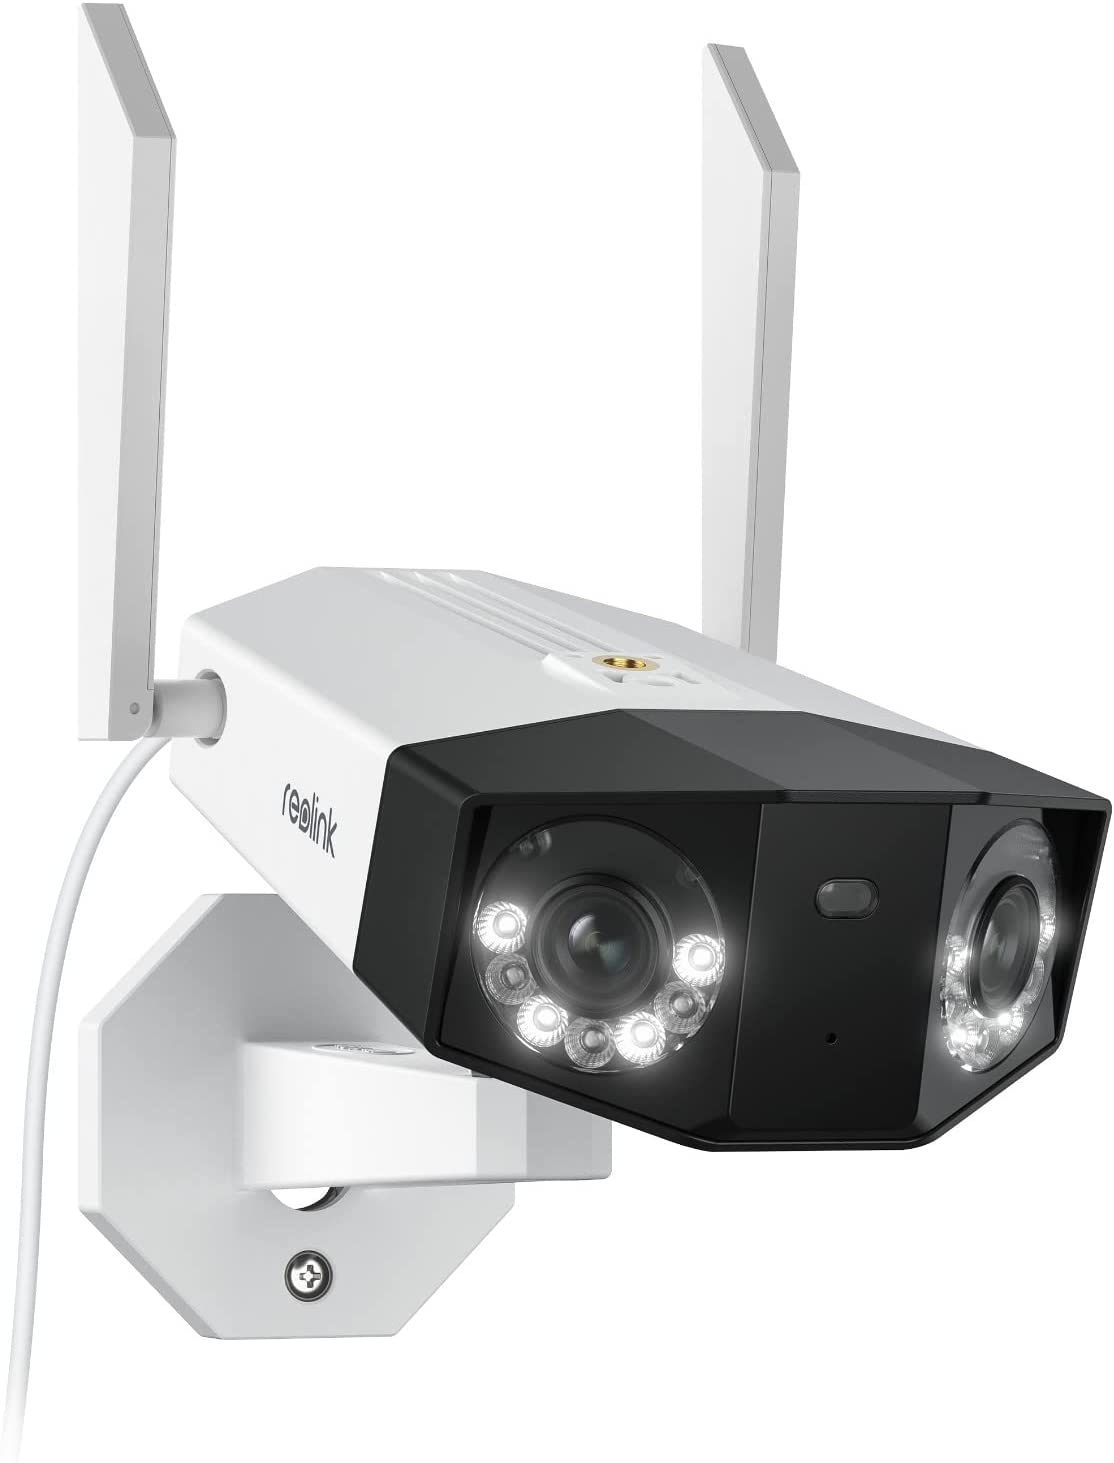
The Reolink Duo Wifi (RLC-410) IP camera does not support HomeKit but it DOES support ONVIF and RTSP, which is excellent. There's no pan/tilt/zoom, but that's to be expected with this camera's excellent field of view (150 degrees) which it accomplishes by having two lenses. If you were going to make an evil RC robot, you would be obligated to mount this camera as its head.
Additionally, two features stand out relative to most IP wifi cameras: this model supports person / vehicle detection and 5GHz wifi.
One distinction from other Reolink cameras I've worked with is that this model (and presumably all of the Duo models?) lack support for web based configuration. The Reolink app is better than most others though, so this isn't necessarily a bad thing.
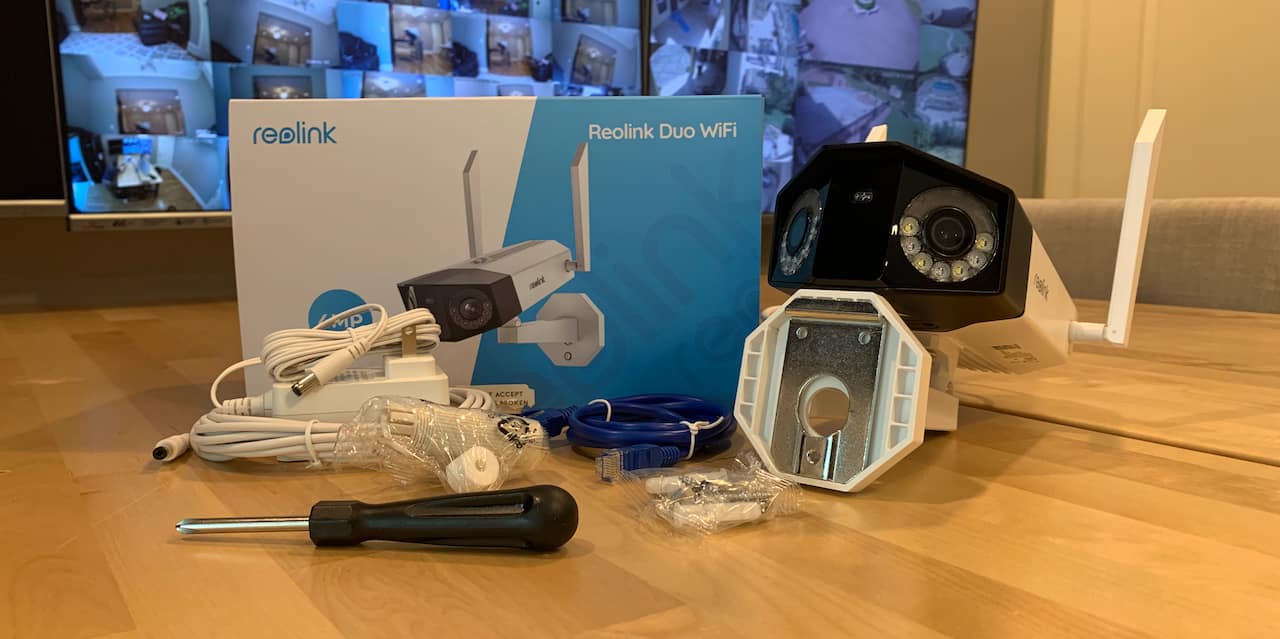
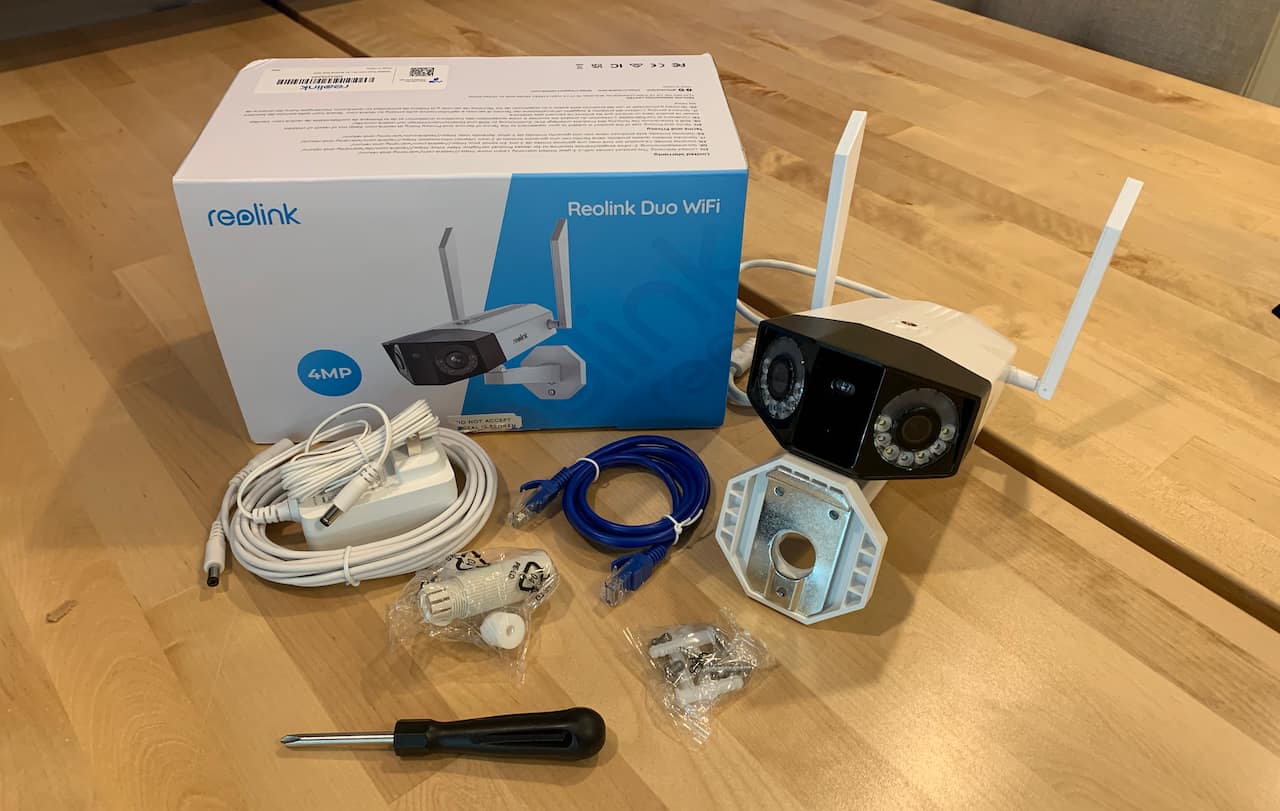
Reolink is definitely a step above the fray of typical cheap IP cameras. In addition to its excellent array of features, it comes with a nice selection of accessories. I don't imagine that including a basic screw driver costs them very much, but its an incredibly nice gesture.
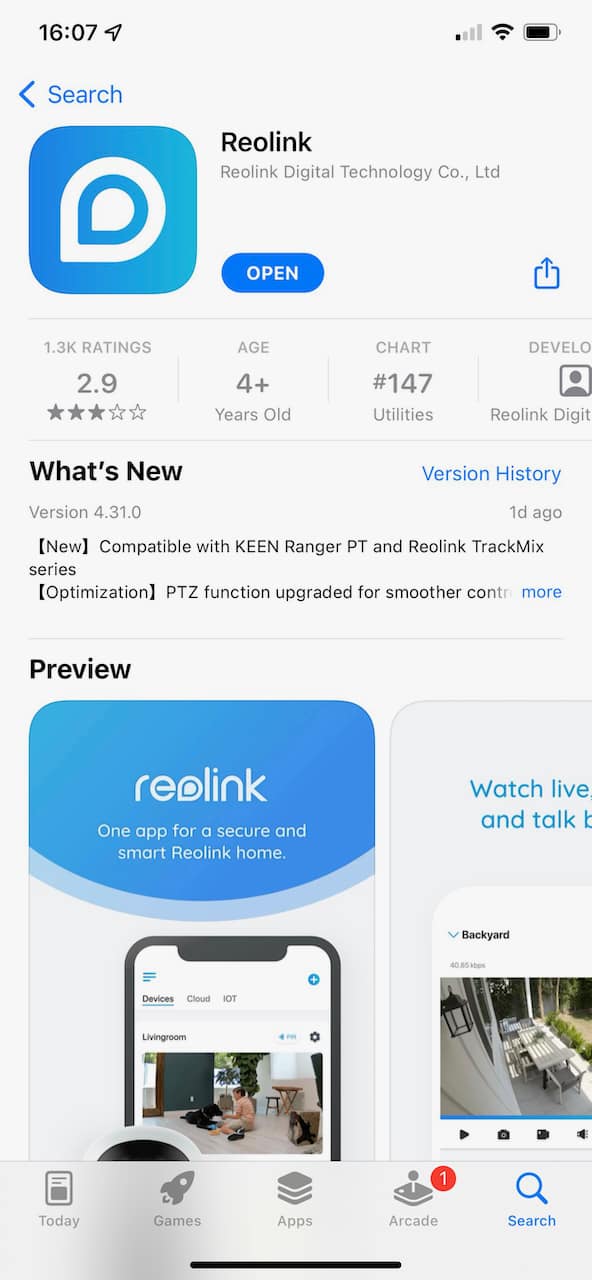
If you don't already have it, get the Reolink app installed.
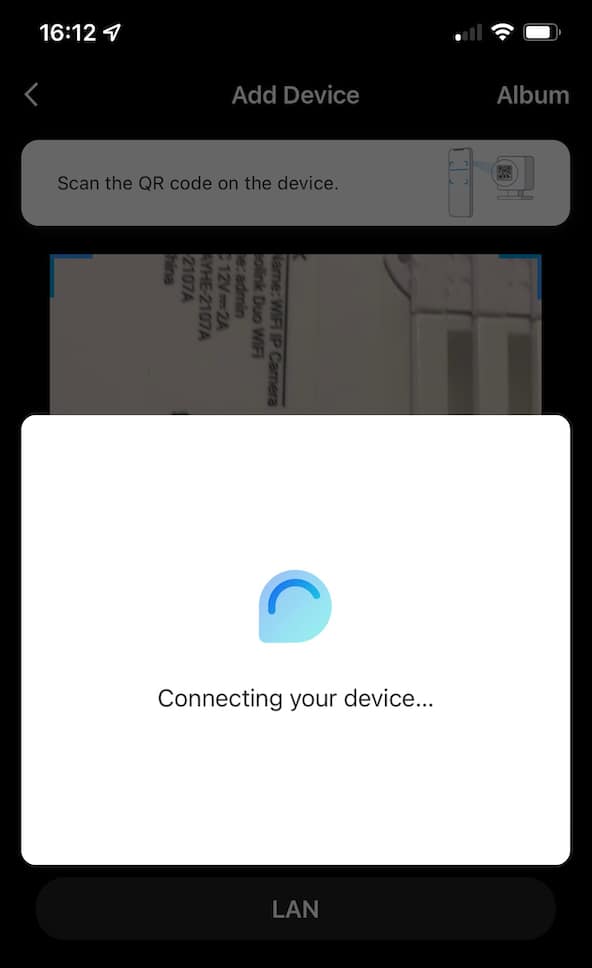
Sign in and scan the QR code on the camera.
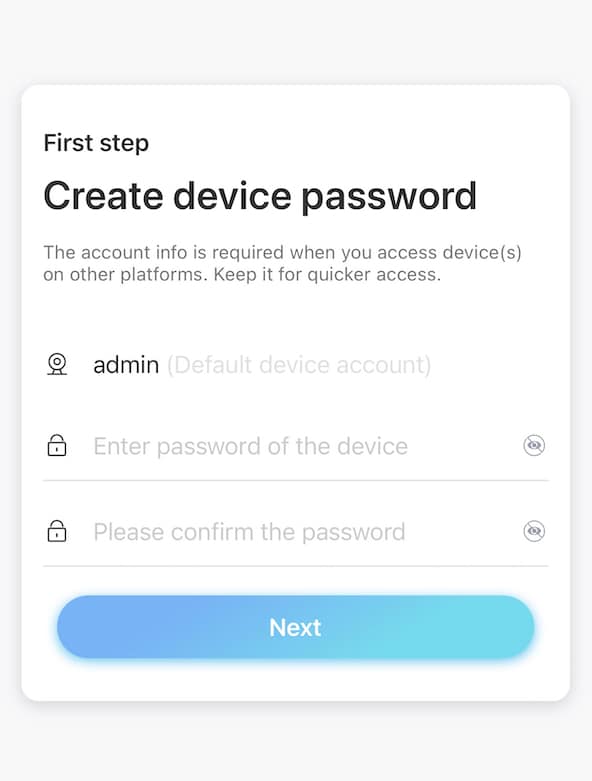
Next, you'll need to define a username and password for this camera.
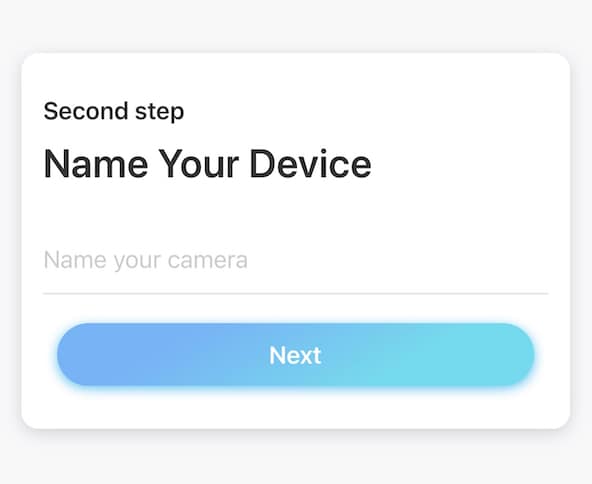
And give your camera a name.
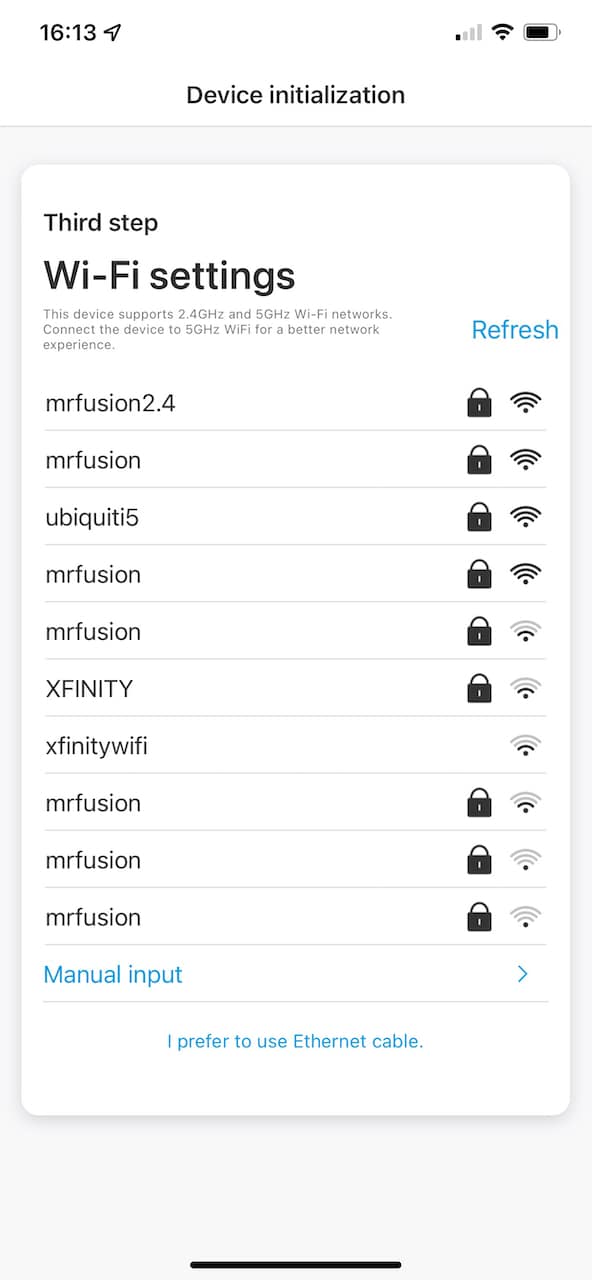
And get it connected to your wifi. Unlike most wifi cameras, this Reolink model supports 5GHz, which is nice.
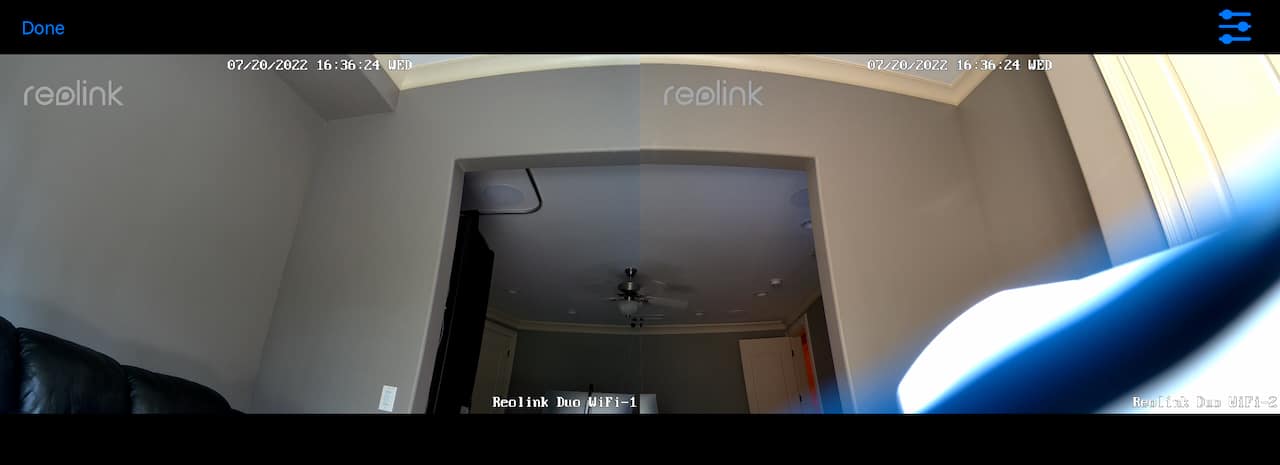
And as quick as that, you should be looking at the two lenses of this duo camera.
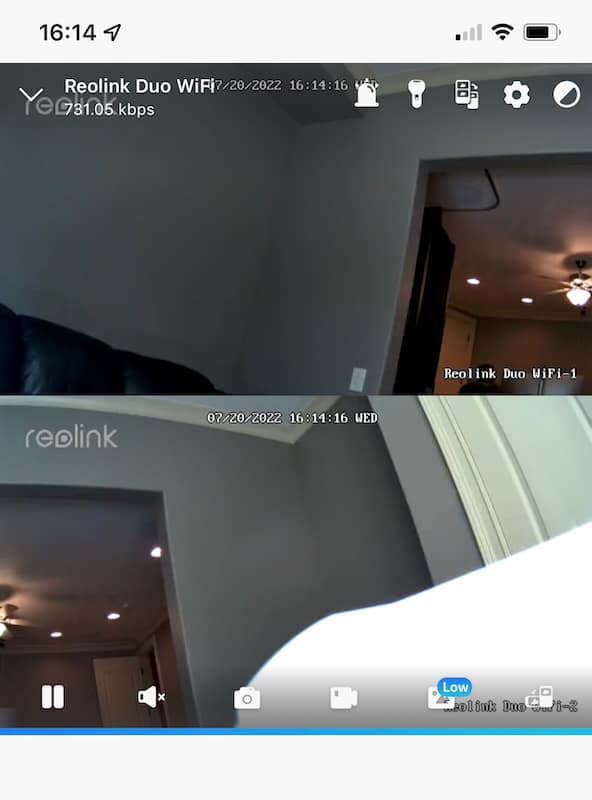
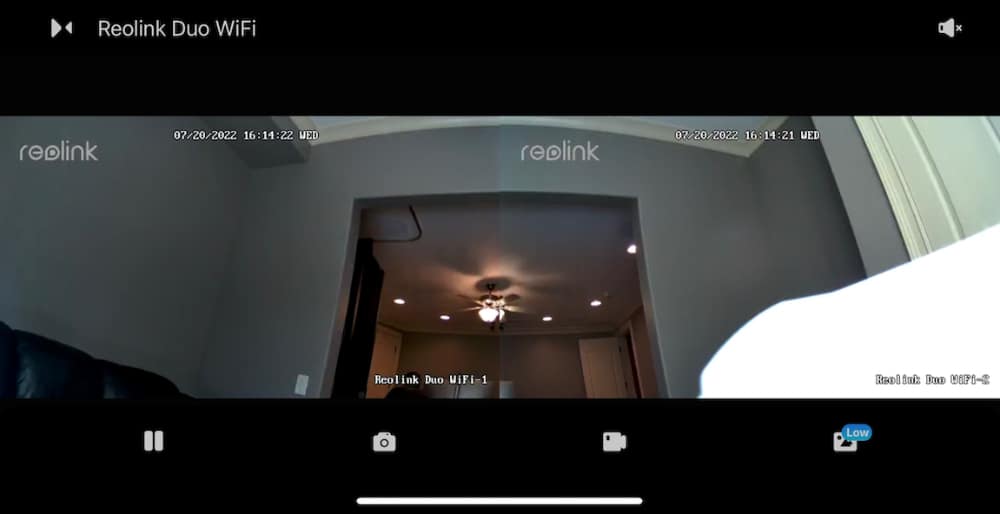
Which looks kind of silly, so you should flip your phone on its side.
Next up, we need to find some information to make it easier to use this camera with Streamie. Specifically, we need the camera's IP address. We don't NEED it, but it can take the guesswork out of the process in case you have more than a few cameras already. So, go back a screen and hit the settings button to configure this camera. Then tap on the item at the top of the screen.
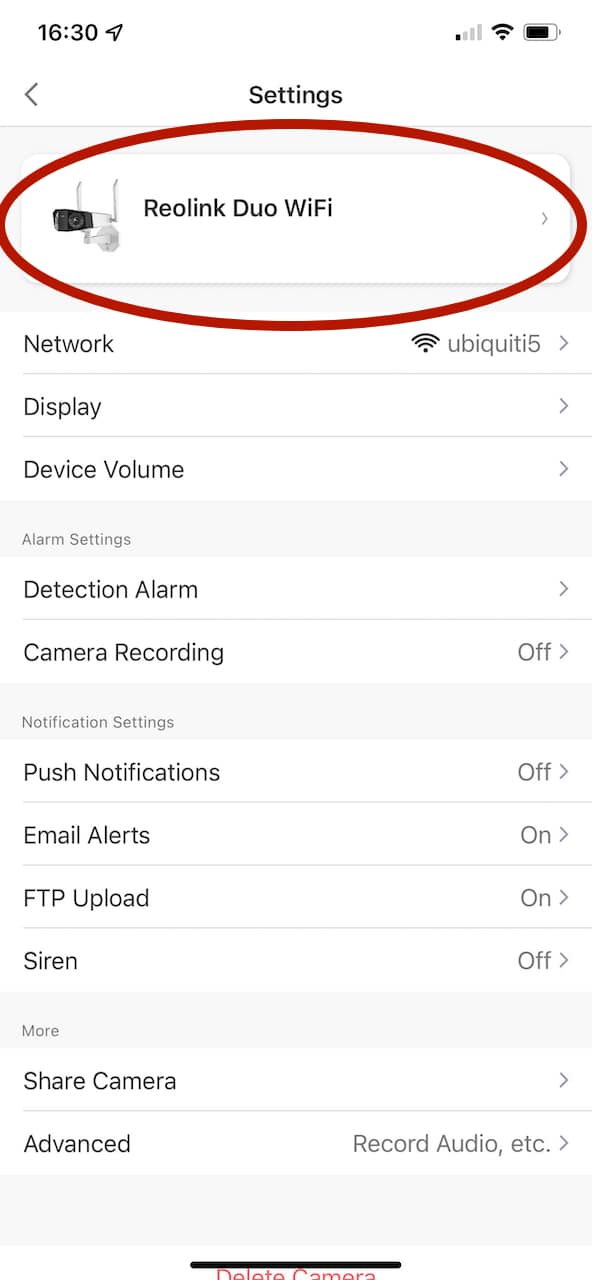
Now we want to look at Network settings.
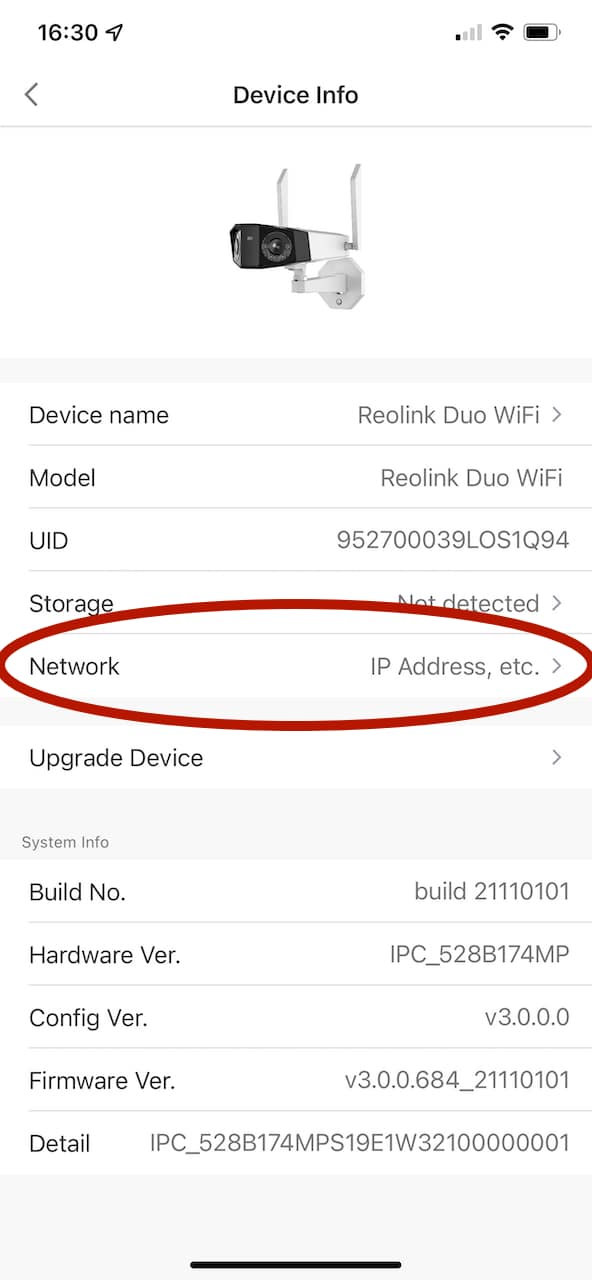
And it is here that we'll see the camera's IP address. Take a note of it. It may be useful to have as we set up Streamie.

Streamie is the app for iPhone, iPad, Apple TV and Apple Silicon Mac that works with many cameras all in one beautiful interface (if I do say so myself). We've already set up the Reolink camera. Now we just need to add the camera to Streamie. These screenshots are from an iPad, but the same functionality exists for iPhone, Apple TV and Mac. And iPod Touch if you're particularly masochistic.
Install Streamie if you haven’t already done so. It’s free!
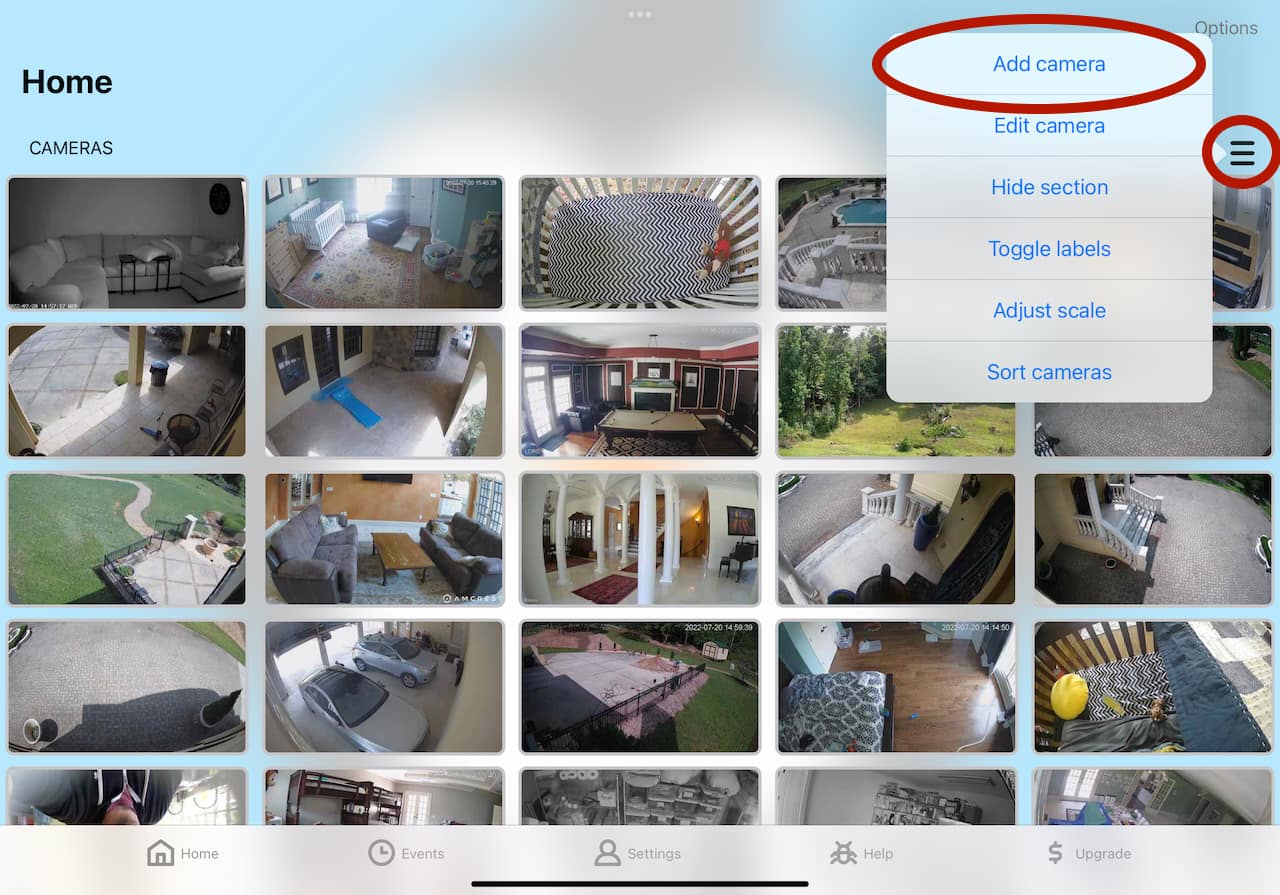
On the Home tab, scroll to the Cameras section and tap on the hamburger menu. Choose "Add camera".
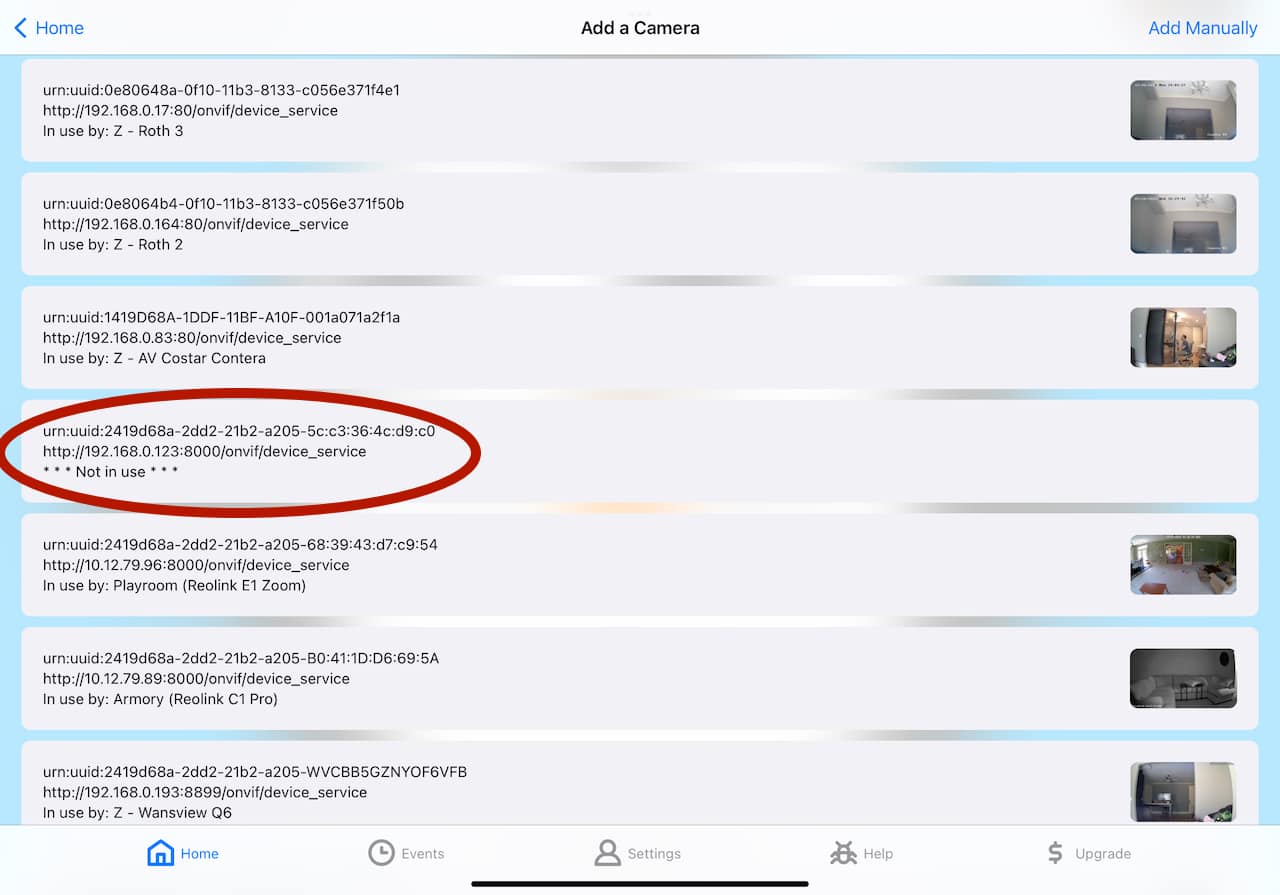
This Reolink camera does support ONVIF, so if your Streamie device is on the same network as the camera, it should show up in the list of cameras in the ONVIF section of the Add Camera screen. The port "8000" is a dead giveaway for Reolink because they like to do everything different. Tap on that camera.
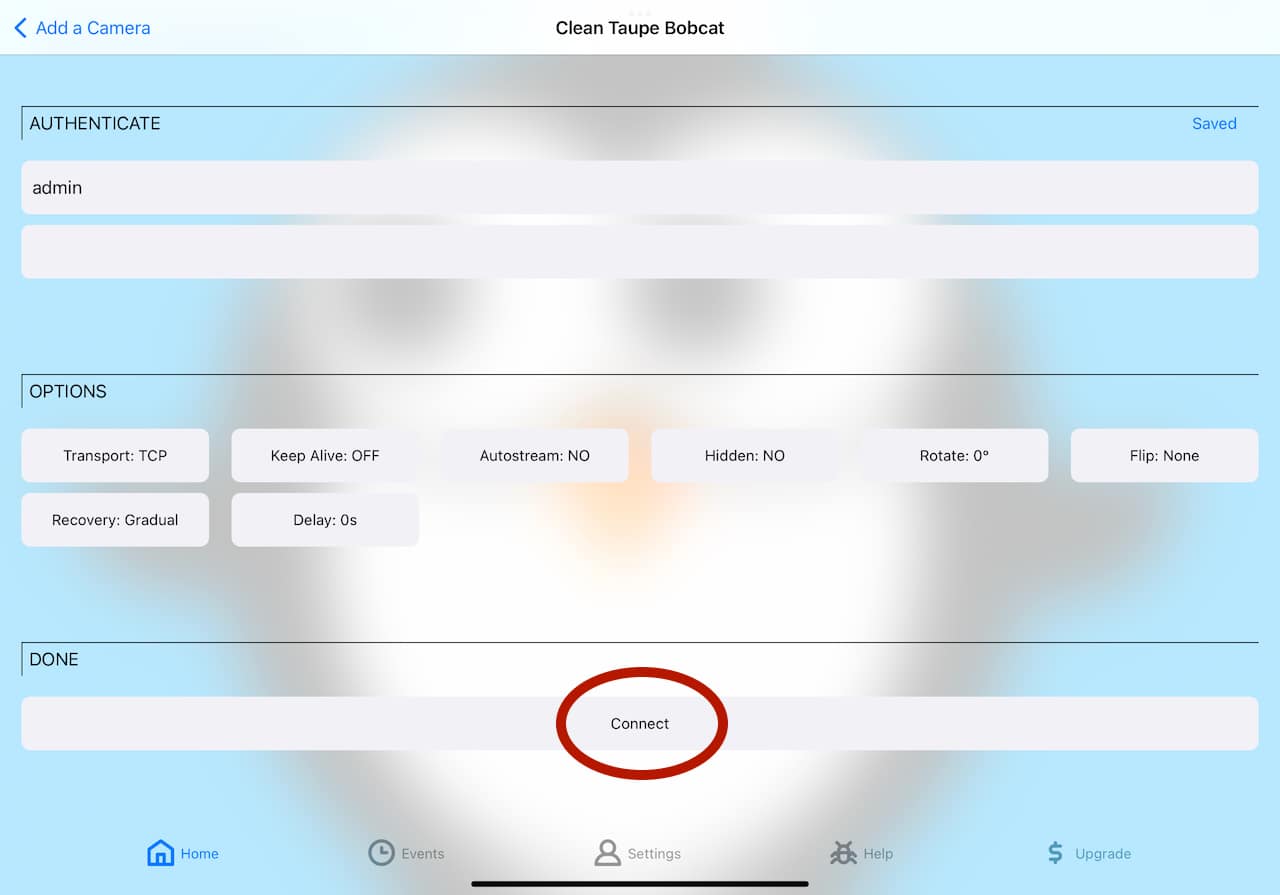
Type in the username and password that you used to configure the Reolink camera.
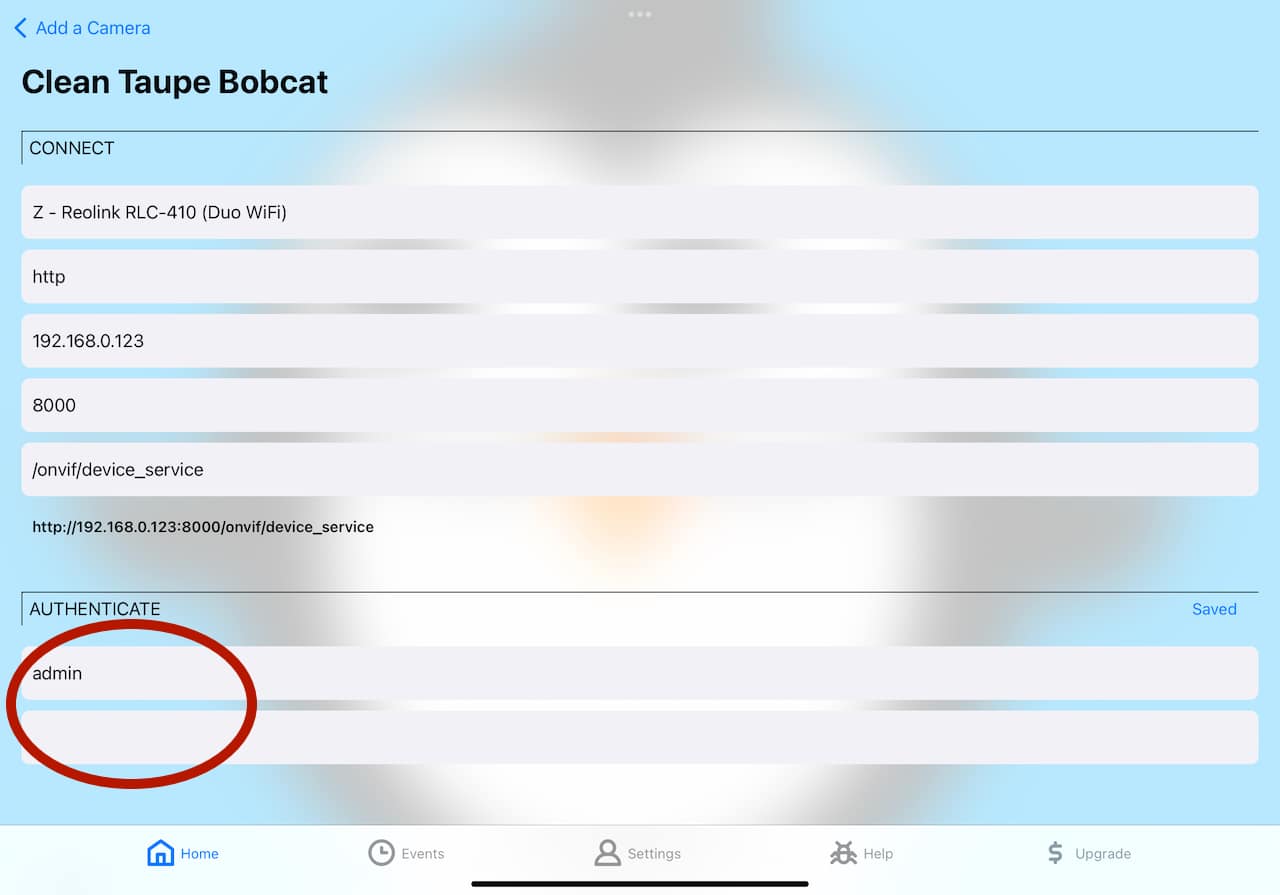
Scroll down and tap "Connect" to try to connect to the camera.
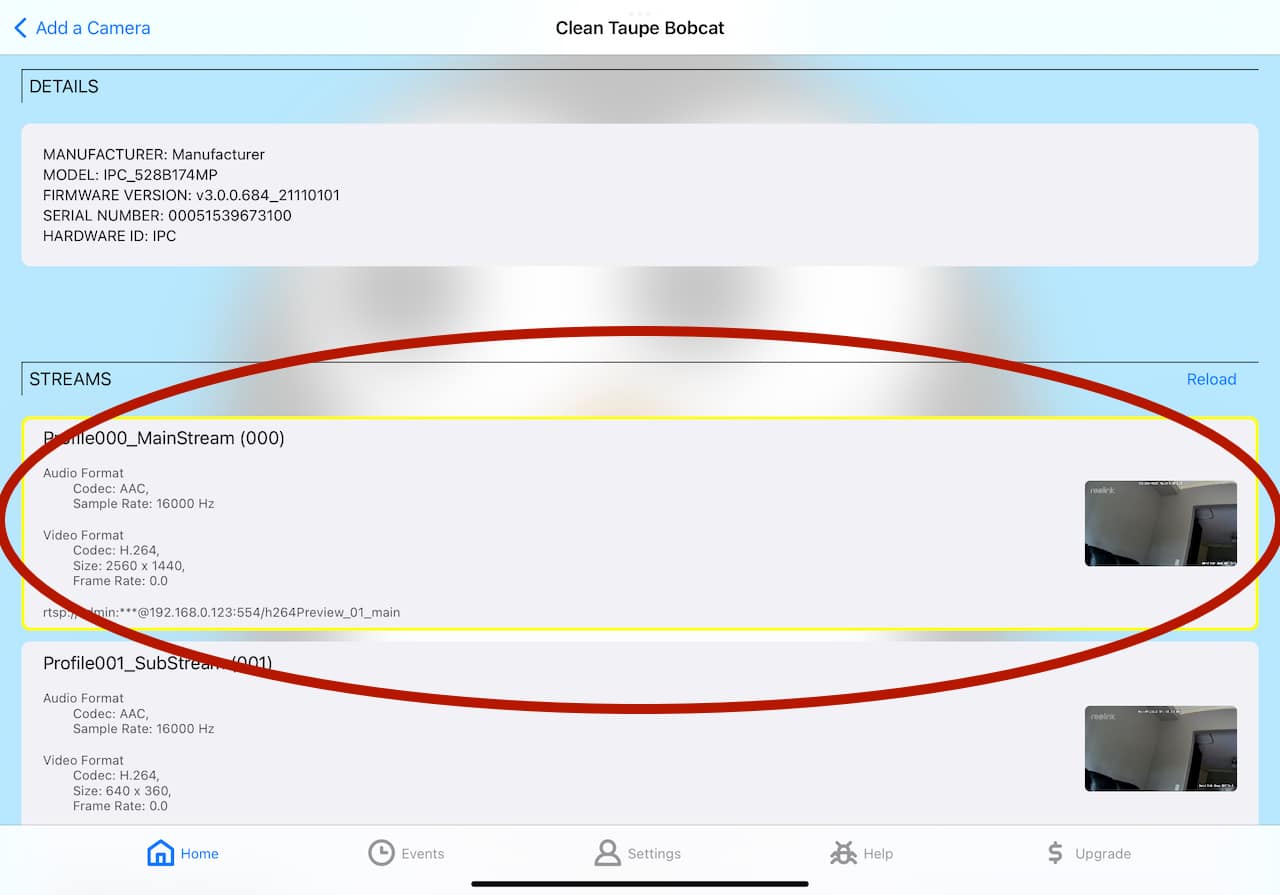
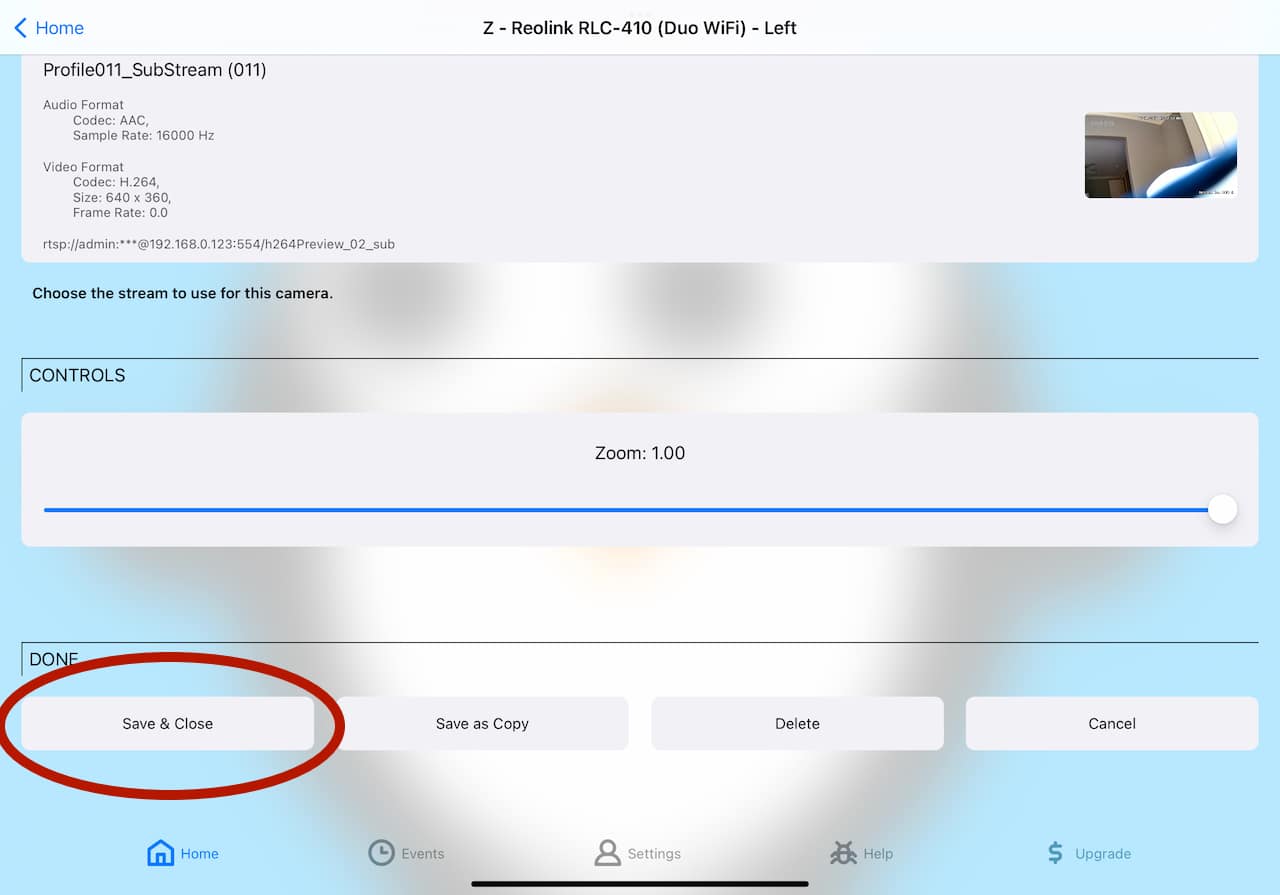
A section of "Streams" should appear. Tap on the first stream to select it. This is the high quality stream associated with the left camera, most likely.
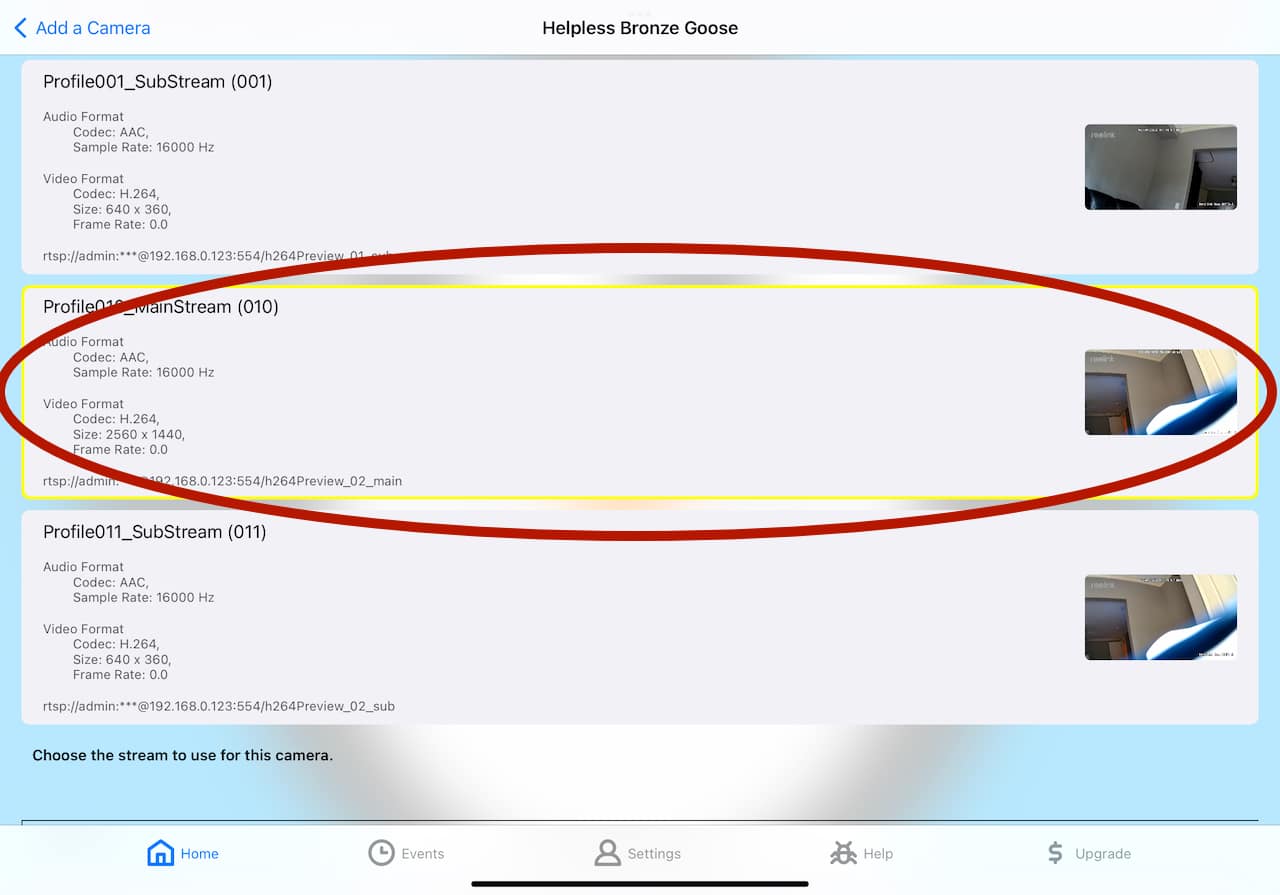
If everything worked, scroll down and tap "Save & Close". Then go through this Add Camera process a 2nd time, but choose the 3rd stream which should be the right camera.
Your new cameras will appear in your list of cameras. Tap on one of them and it should start streaming right away.
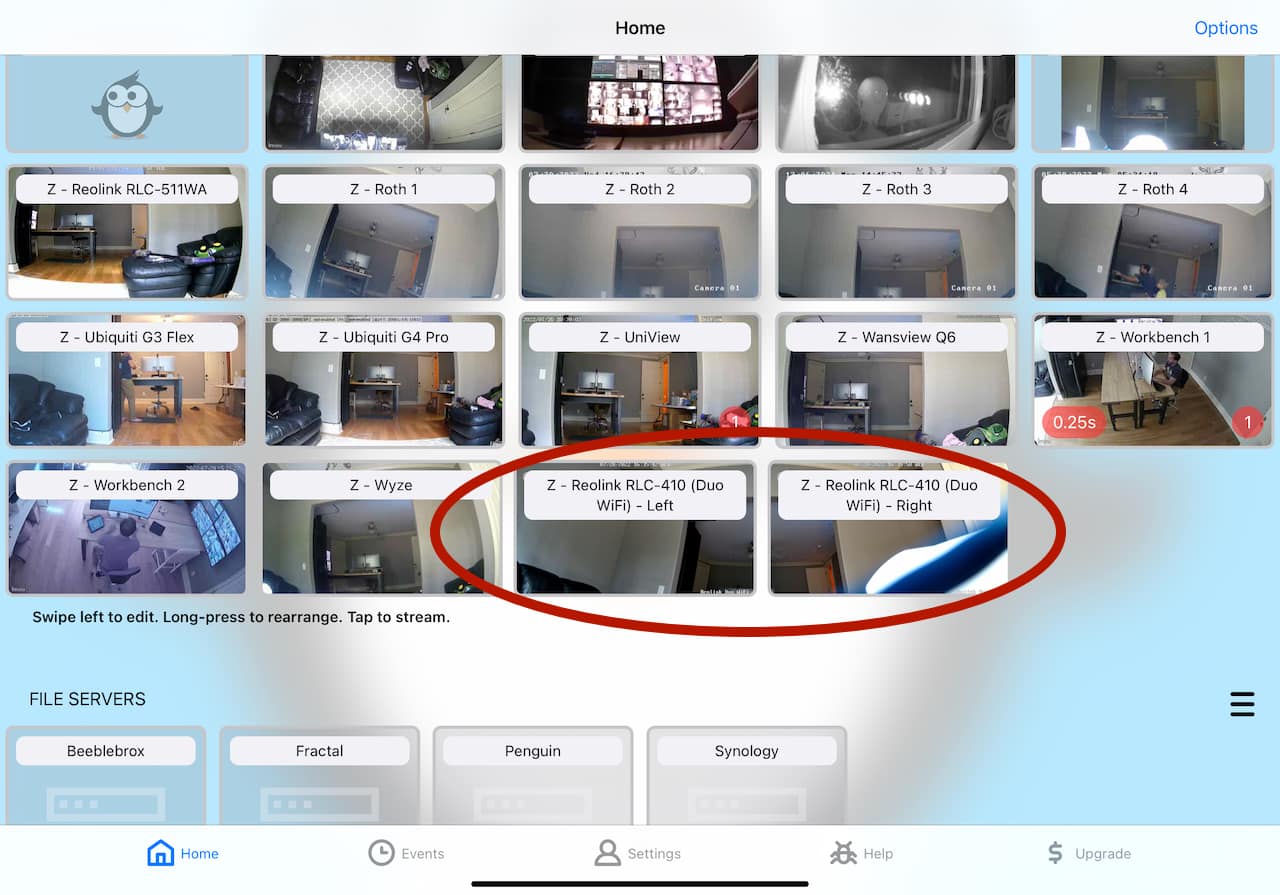
While it is streaming, you can use the top-right button to adjust the scale to two (meaning two cameras across the screen) and then use the same button to add a 2nd camera to the group of streaming cameras (and choose the 2nd camera that you added).
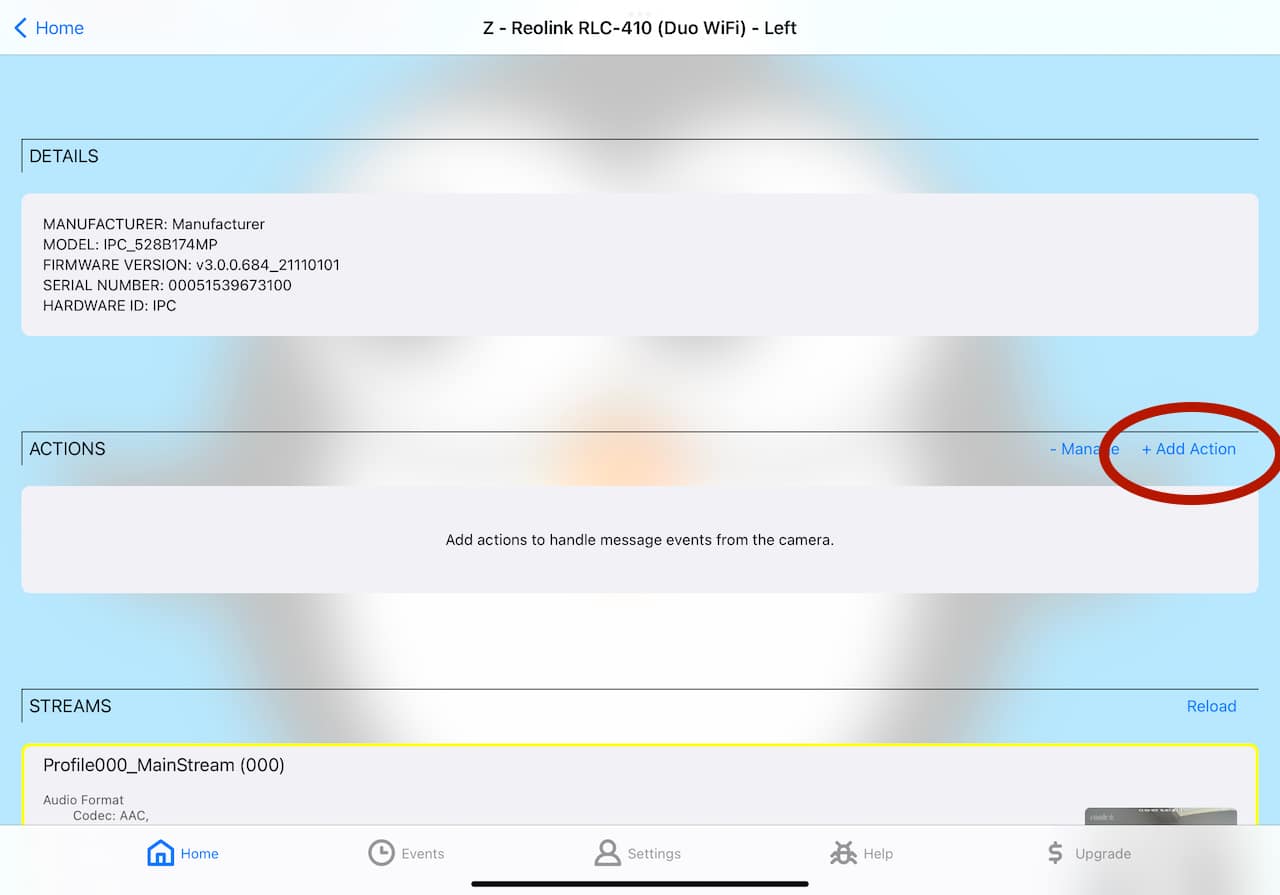
In these next few steps, we're going to configure Streamie to handle smart motion events. Leave Streamie streaming one or both of the cameras and go walk around / drive around / dance around in front of the camera for a moment. Streamie is going to learn which kinds of motion events the camera supports and make those events accessible to you. Once you've finished dancing, return to Streamie, hit the Done button in the top-left corner to close the streaming session and swipe left on the newly added camera (whichever one you were performing for) to edit it. Scroll down and there should be an Actions section. Tap "Add Action".
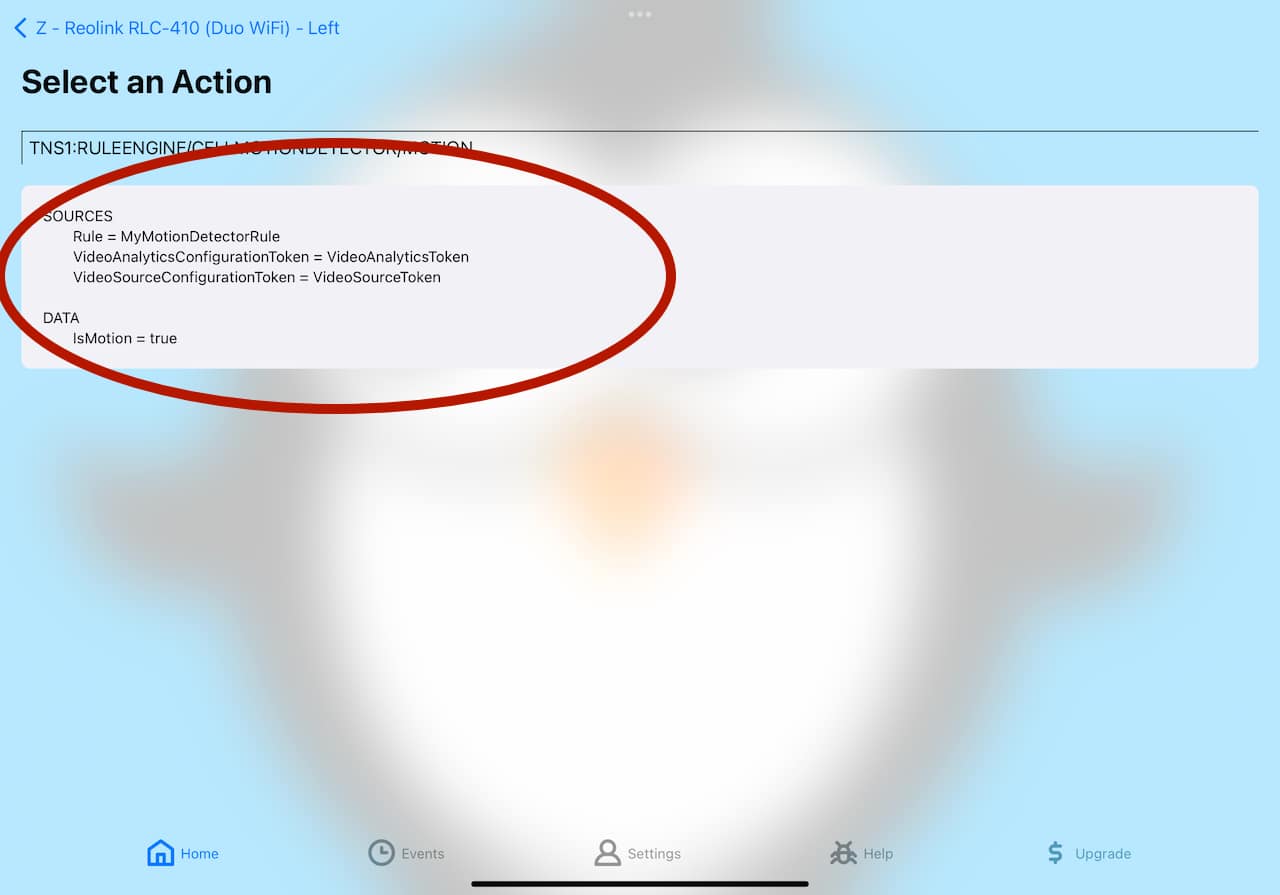
Now you'll see a list of event types that Streamie has learned from the camera. Look for one that has something similar to "isMotion = true". Tap on that.
Now we get to define the action that Streamie takes when that event occurs. You can have Streamie speak an alert, or log an event (with a snapshot + recording + push notification), or save a snapshot to your iCloud photo album. In this case, we'll speak some text. Choose that option and enter some text for Streamie to speak.
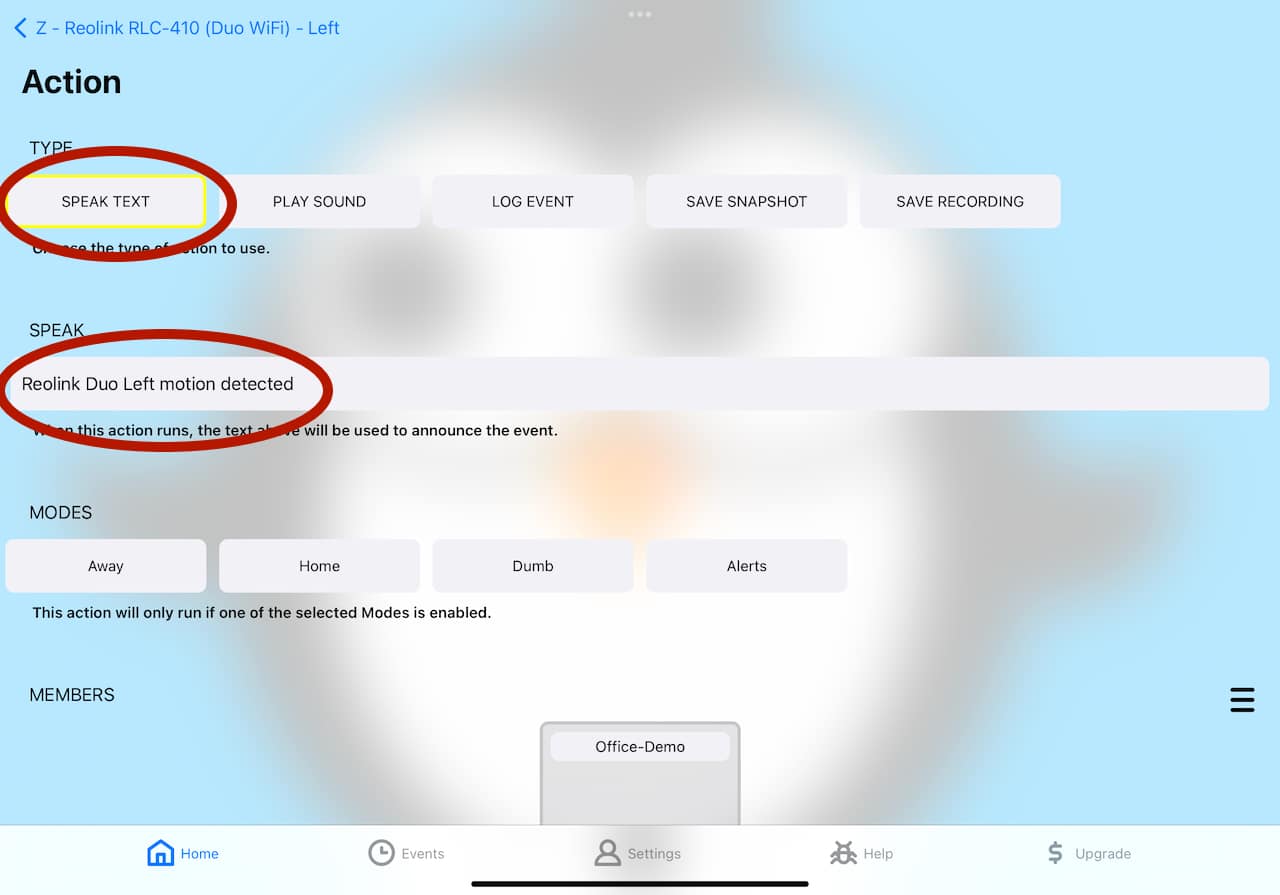
New we want to tell Streamie which devices should run these actions. Tap the hamburger menu in the Members section and select this device. And set a timeout that corresponds with how annoying you want Streamie to be. Finally, hit "Save" to go back to the previous screen with our changes saved.
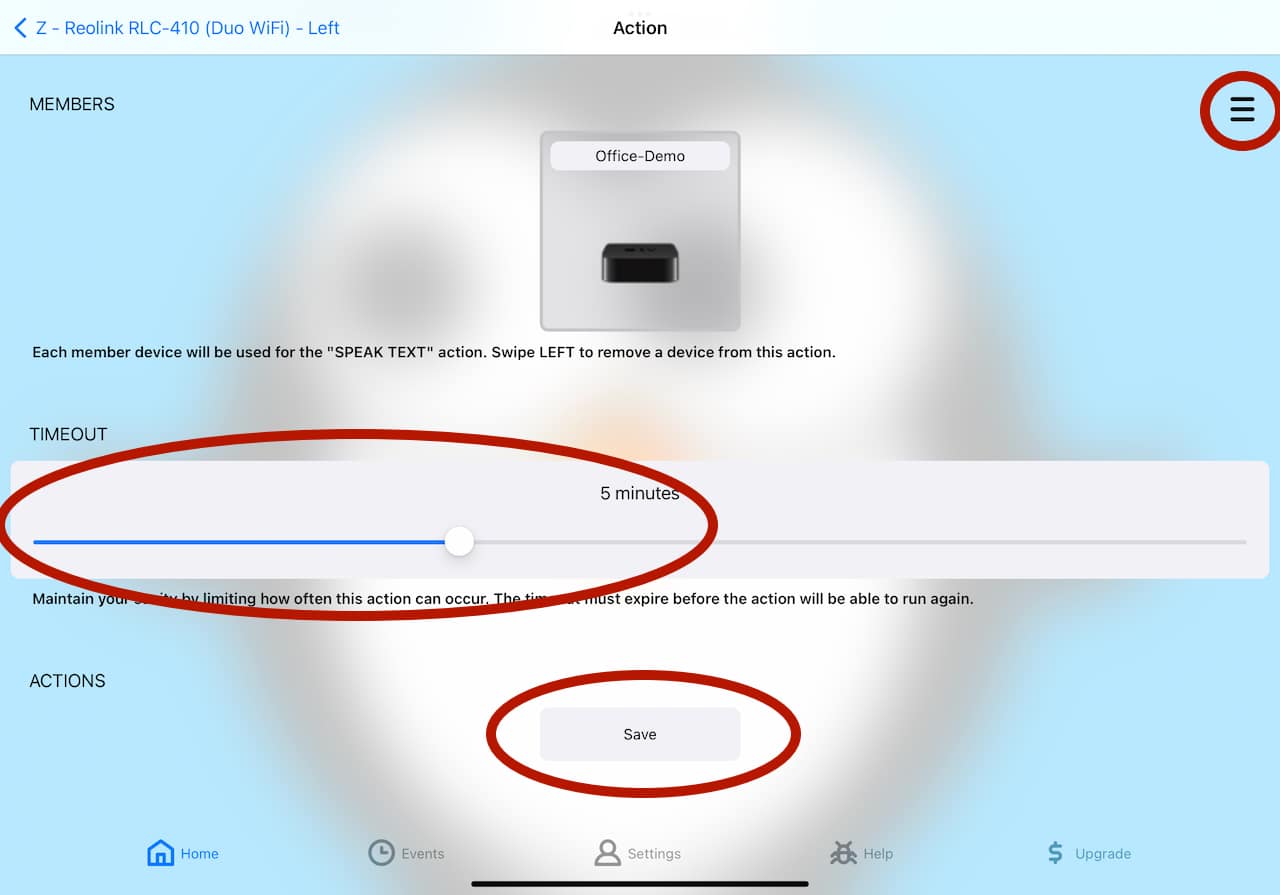
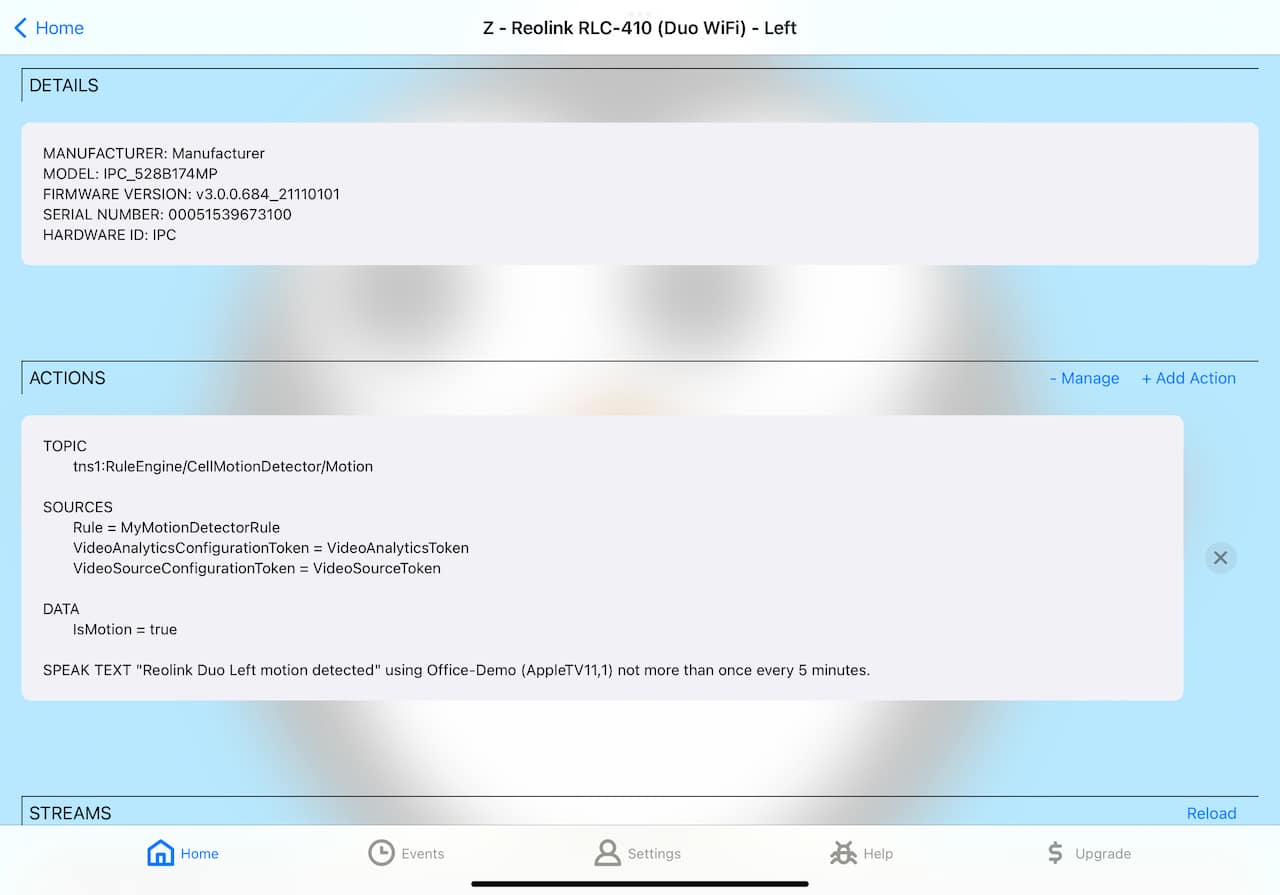
You should now see our newly defined action.
Scroll down and hit "Save & Close".
Finally, start streaming your cameras again and then go walk, dance or drive in front of your cameras and you should hear Streamie speak the text you defined.
The final step you should consider with any camera is to remove its internet access. Cameras, in general, should not be trusted. Consult your ISP or local neighborhood tech support guru for how to configure your router to block your camera's internet access. With Streamie, you can still access your camera remotely, even when the camera's internet access is disabled.
If you run into any issues setting up your Reolink camera and adding it to Streamie, contact us for assistance. We're happy to help.
Created: 3 years ago
Updated: 3 years ago
Author: Curtis Jones
Topics: Tutorial
Streamie provides a best-in-class user experience on your iPhone, iPad, Apple TV and Apple Silicon Mac, with an intuitive user interface that makes it simple to discover, stream, record, monitor and share your HomeKit, Google Nest, Ubiquiti UniFi Protect and ONVIF-compatible IP and RTSP cameras. Streamie keeps you informed with motion event notifications and it works with most cameras using its advanced audio and video codec support. You can watch your cameras from anywhere, record 24/7 to your private NAS, remotely manage multiple locations, device permissions and seamlessly synchronize settings across your devices; configure Hubitat smart home automations, live stream to YouTube and rely on the in-app technical support system when you need help -- and you can also reach us by phone. Download Streamie today for all of your CCTV needs.